Class Management: Administration
Step 1: Access https://coursemind.io/courses
Step 2: Access a class that you manage.
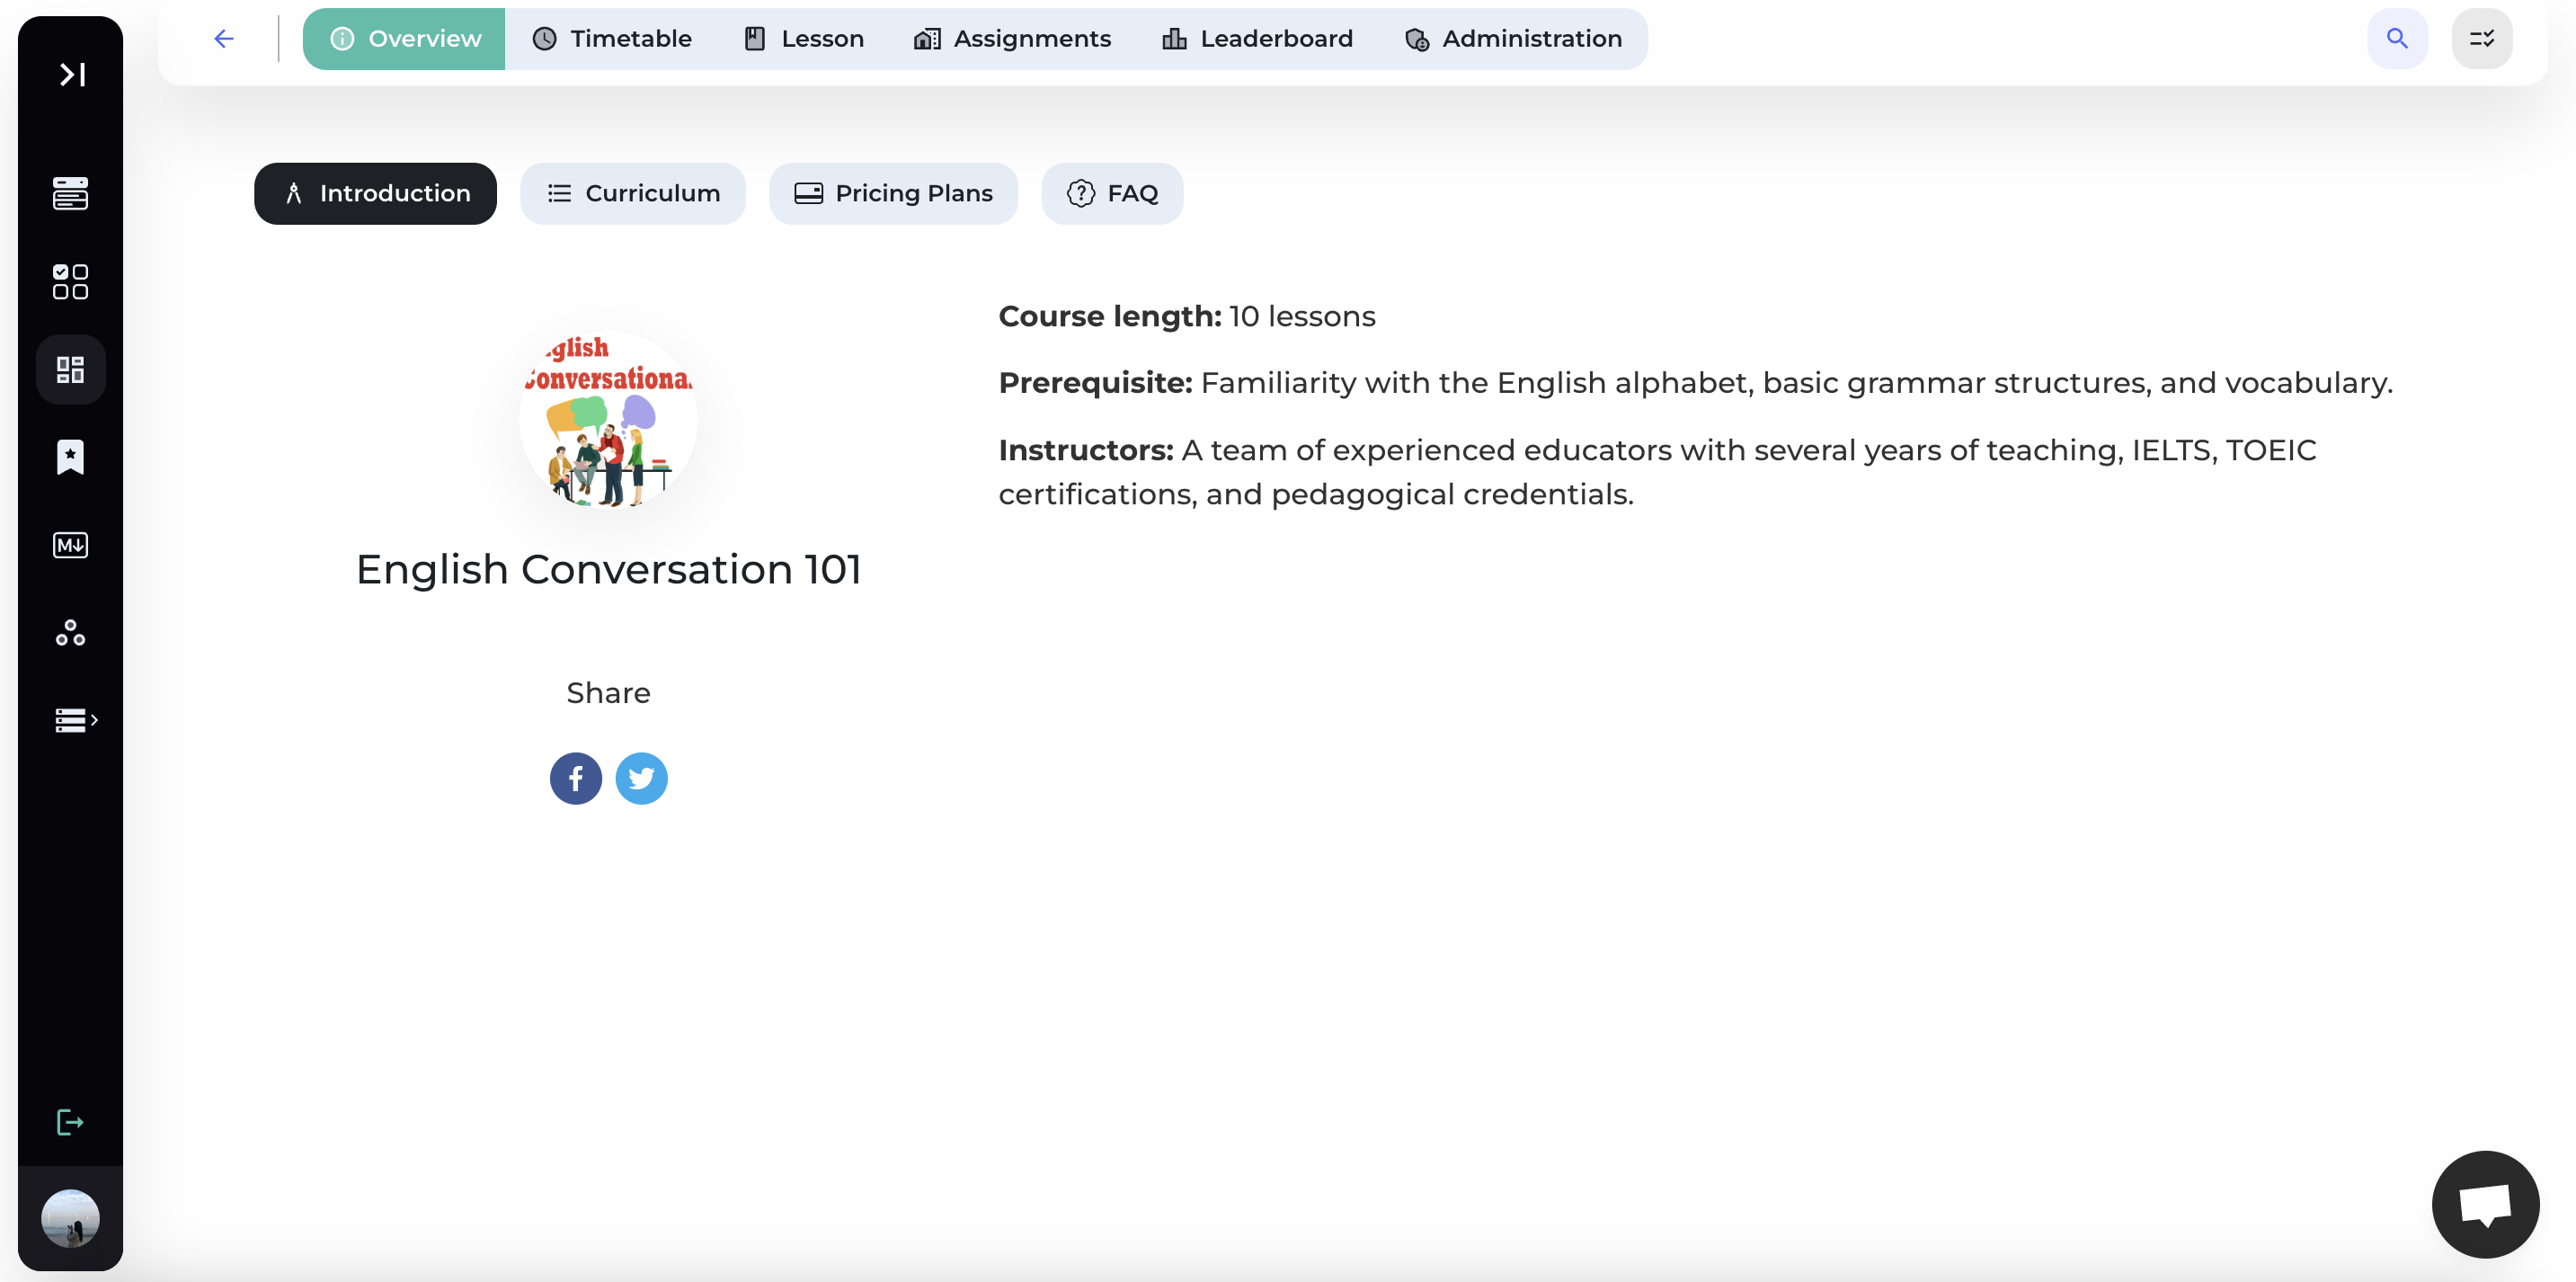
Step 3: Select **[Administration] on the toolbar.
1. Edit Course
Click on the section to modify the course information you desire, then press [Update] to update the details.
Course Information
Update course information.

Organization
Manage the organization this course belongs to.

Auto Approval
Turn on/ Turn off automatic approval of students for the course.

Course Image
Update Course Image.

Promotional Video
Manage promotional video for this course.

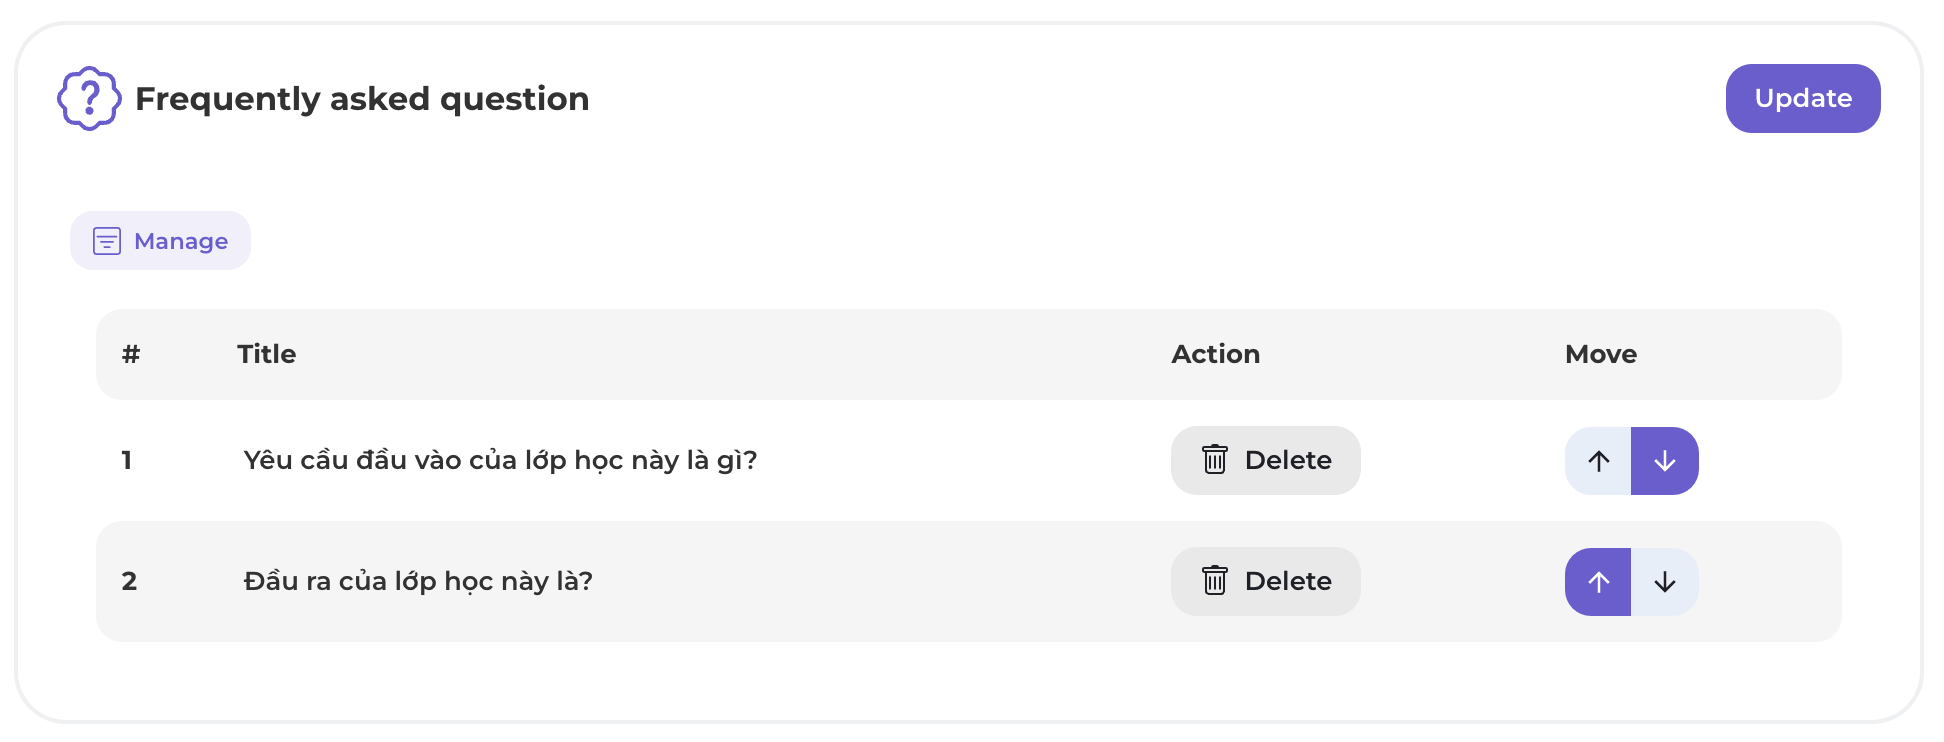
Frequently asked question
Click [Manage] to create or add frequently asked questions from FAQs bank for this course.
Trial Course
Add Trial course if you want.

Tags
Click [Manage] to create or add tags for this course.

2. People
Select the [People] section.
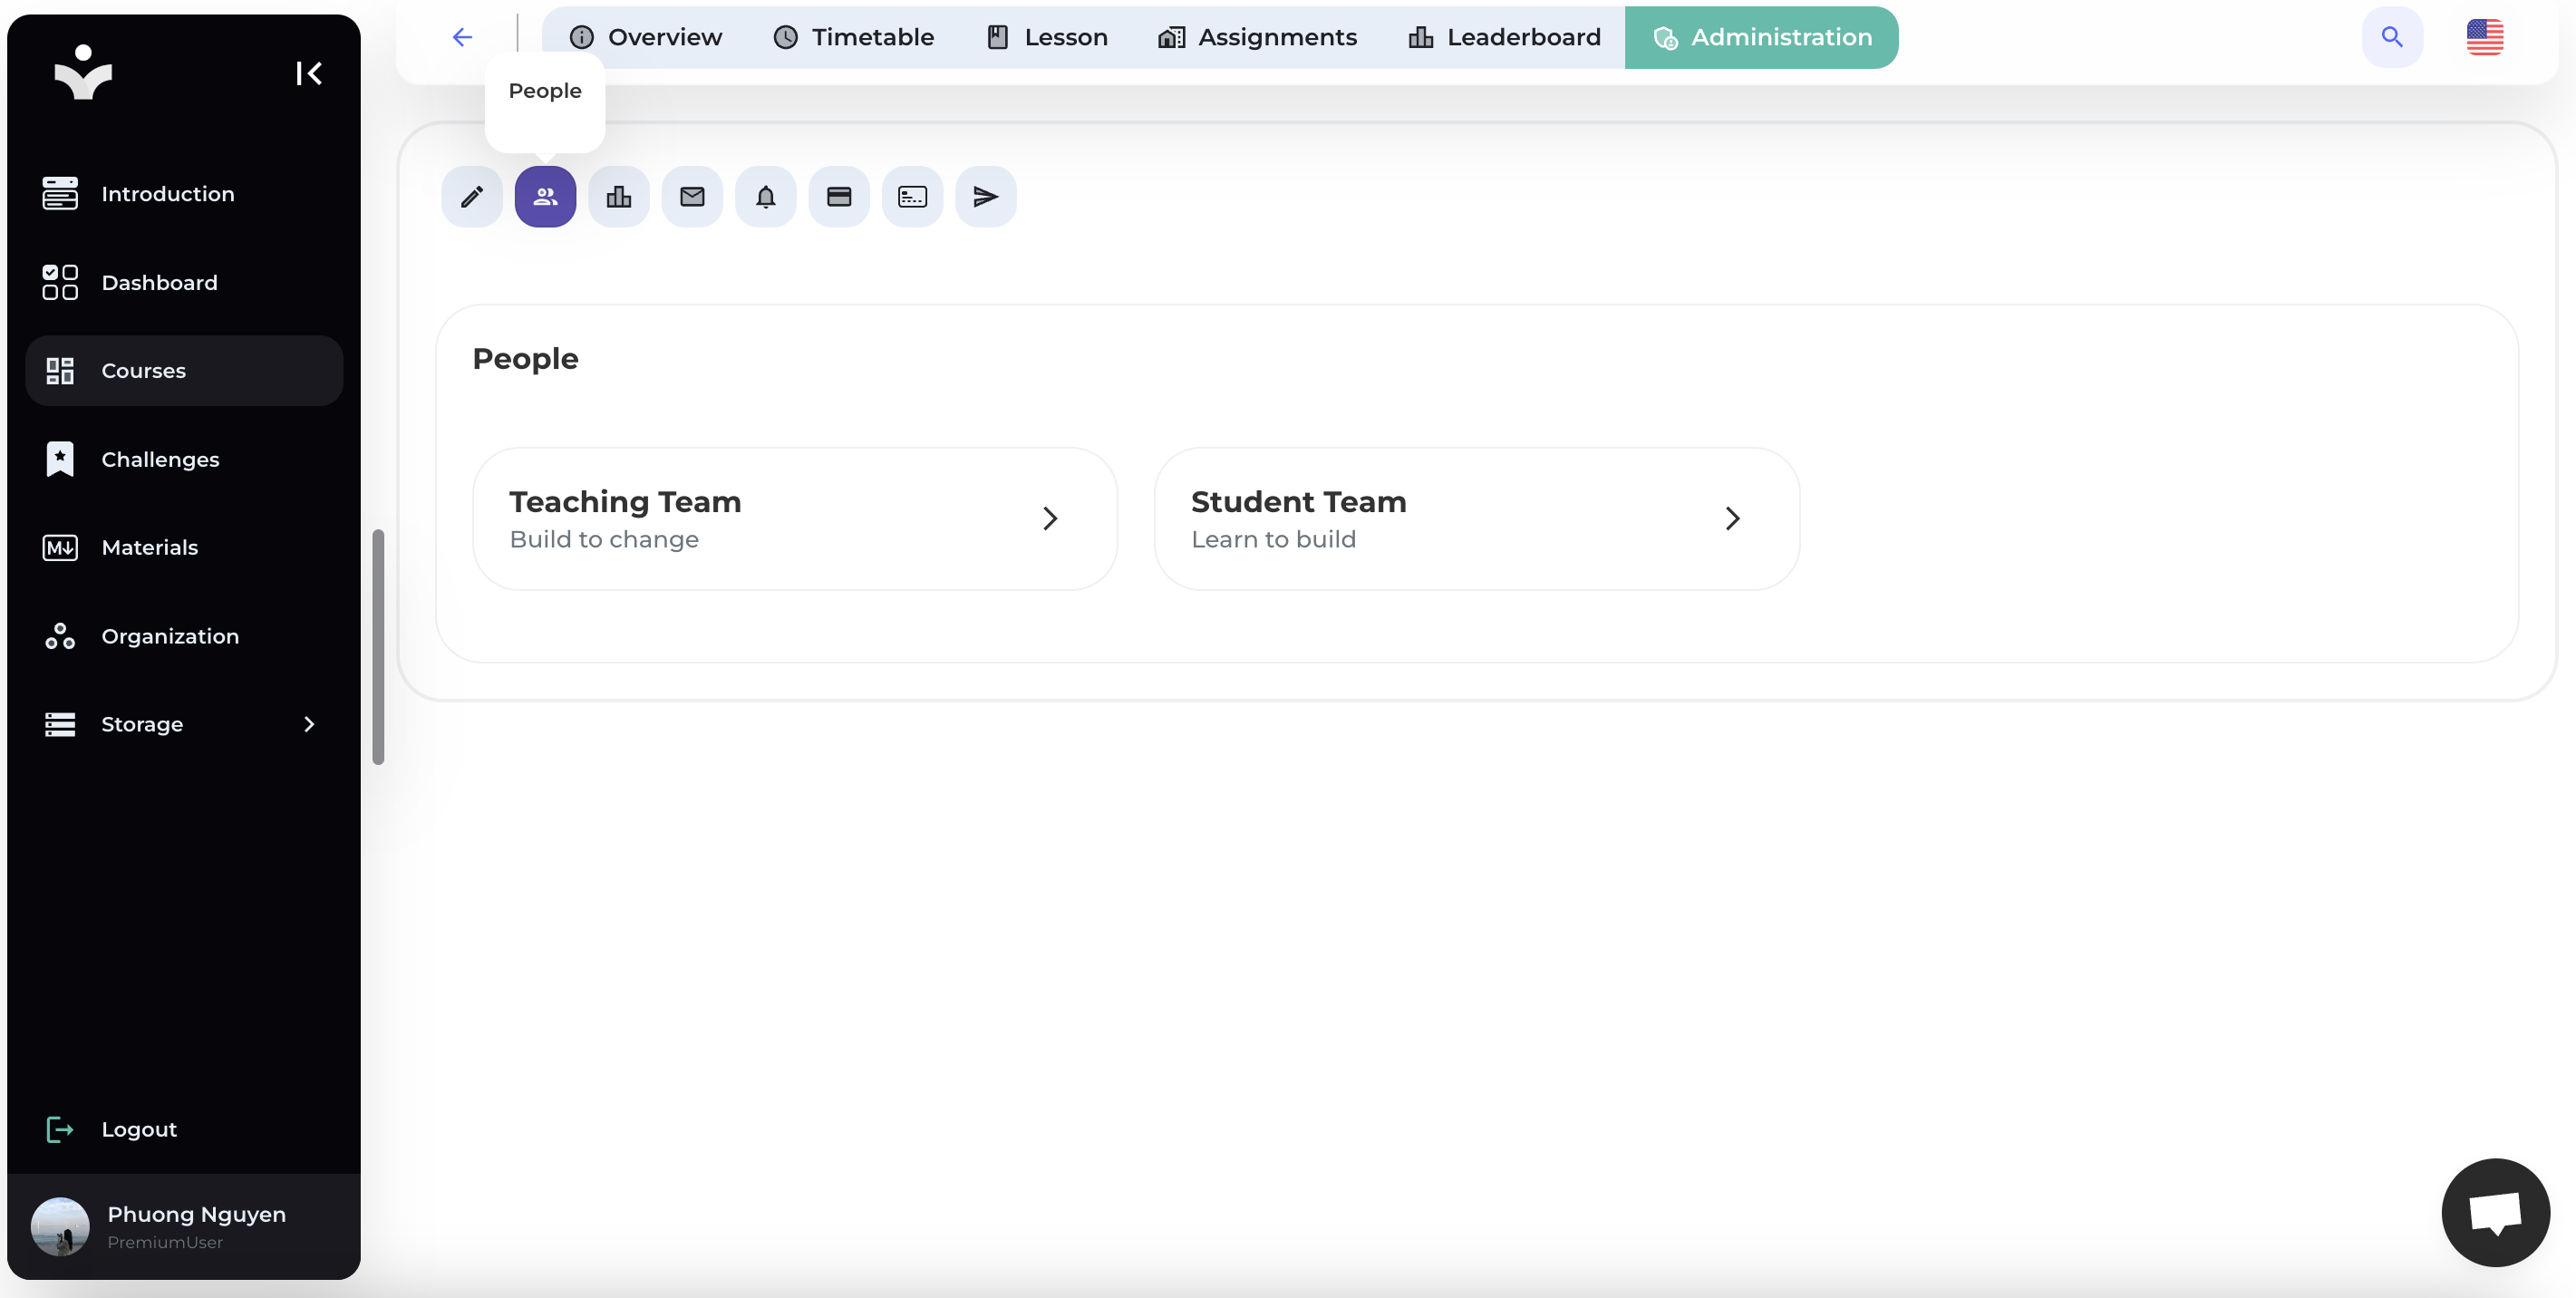
2.1. Teaching Team
Click on [Teaching Team] to add, search, or remove teachers.
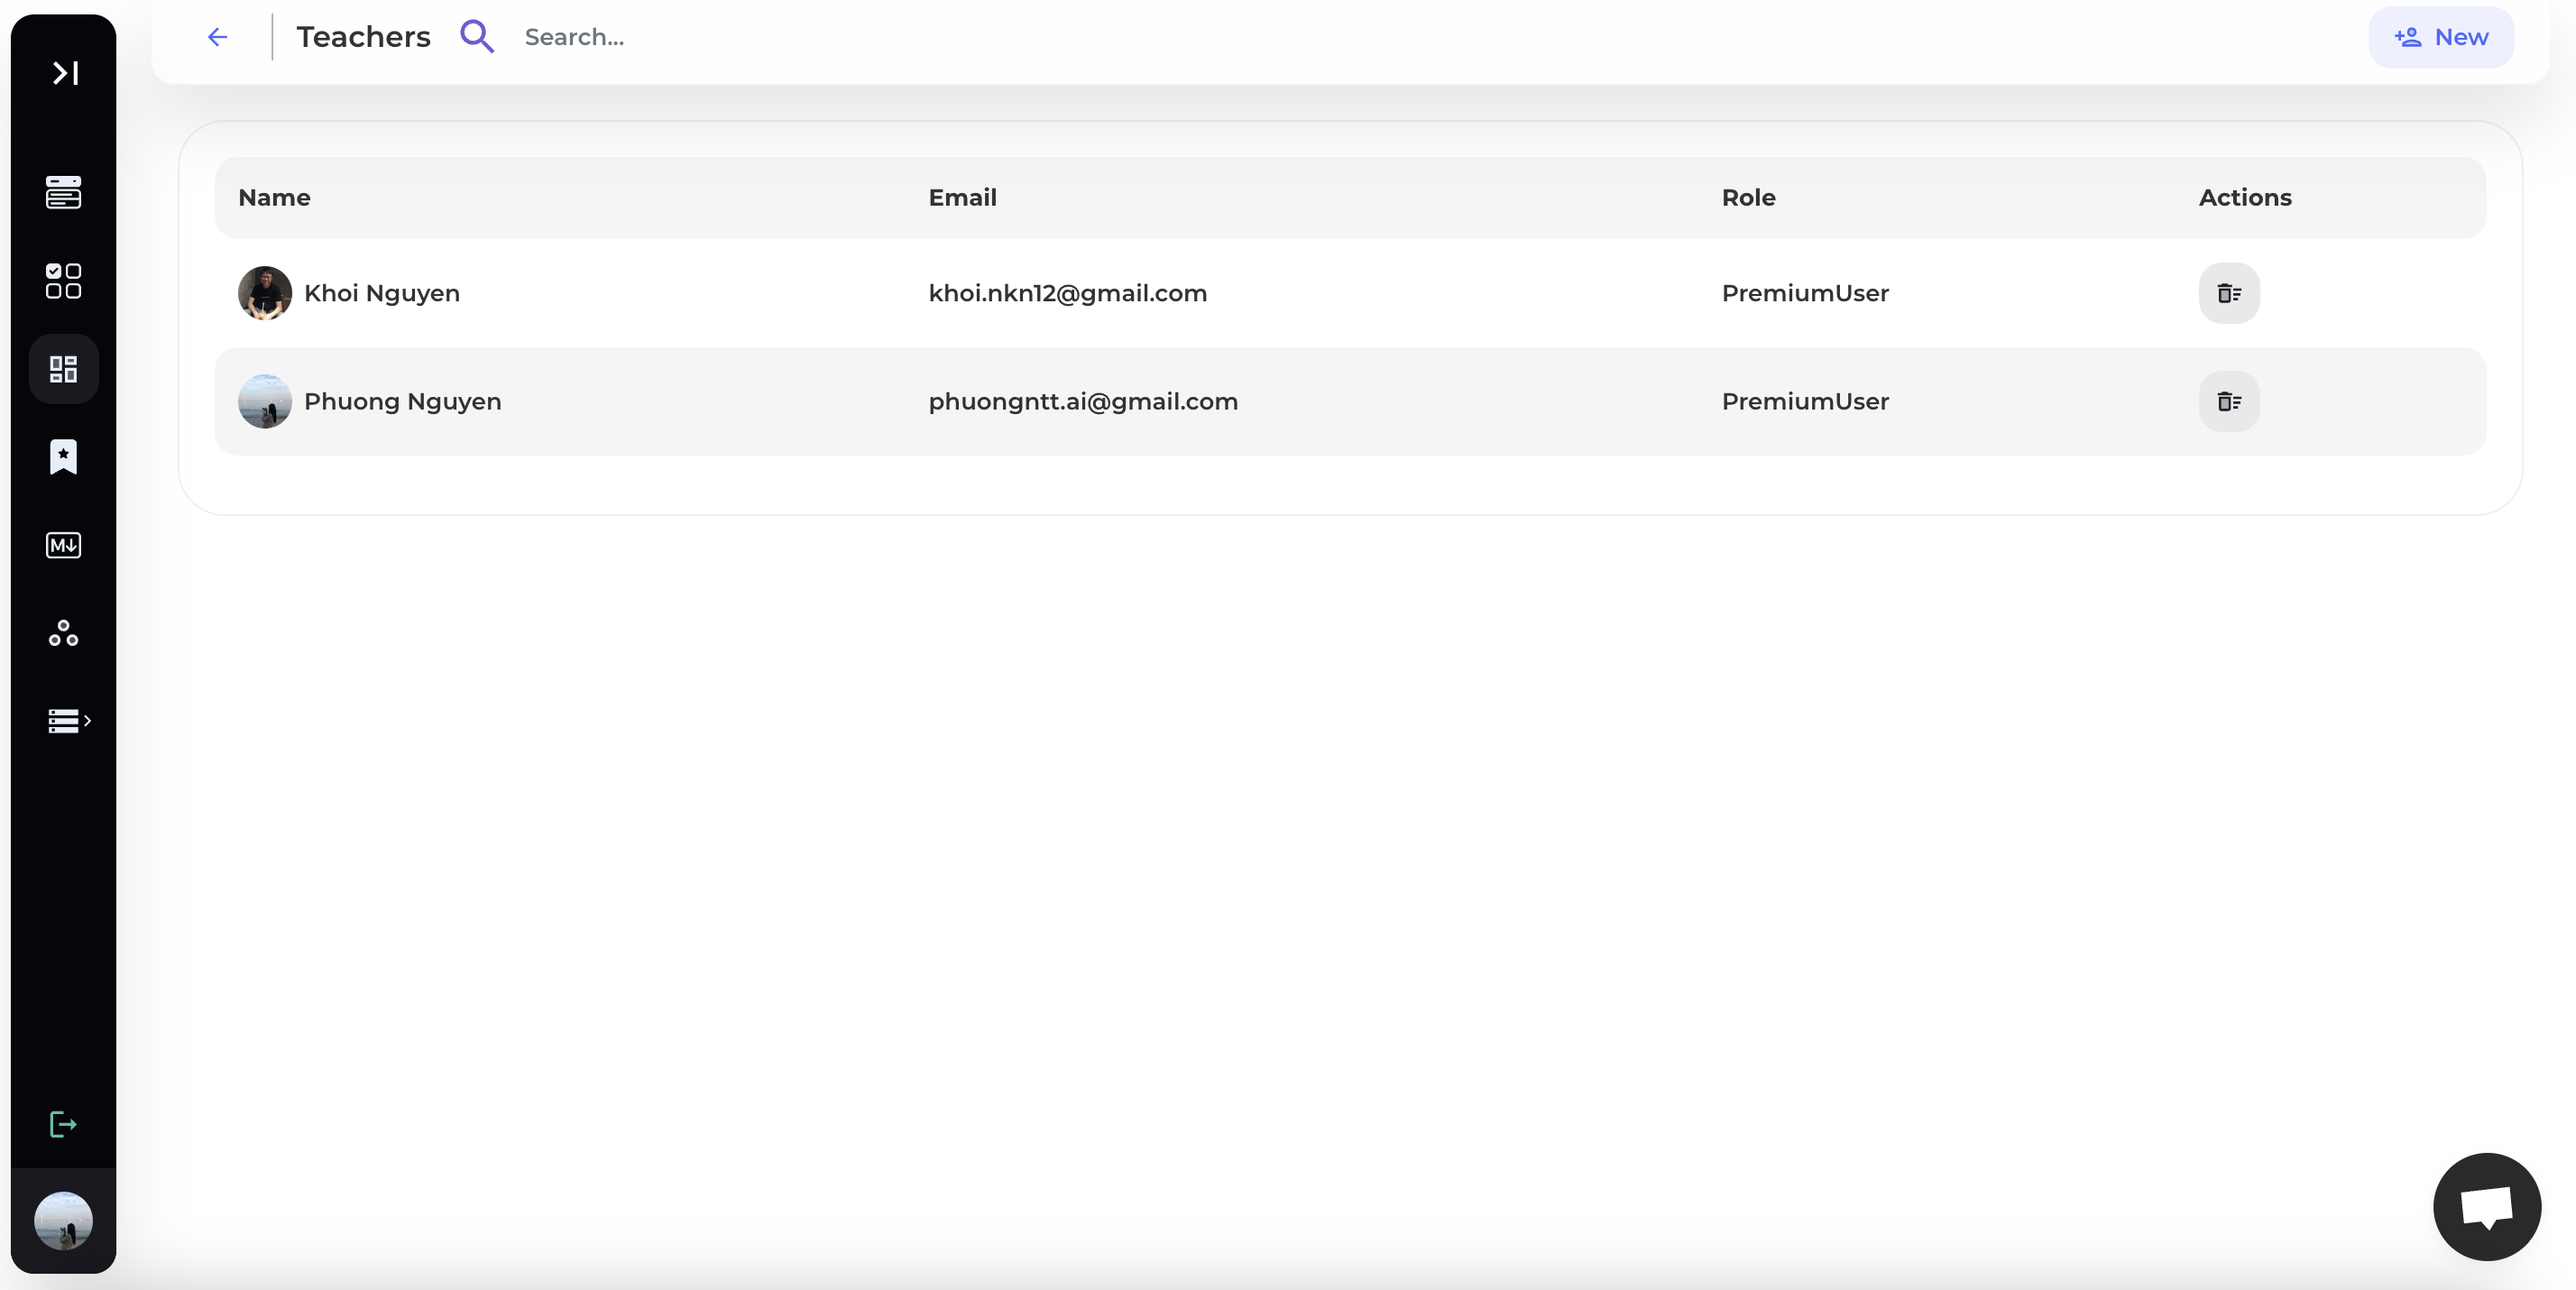
Press the search icon to search for teachers.
Click on the delete icon in the teacher's Actions section to remove the teacher from the class.
Click the [New] button to add a new teacher.
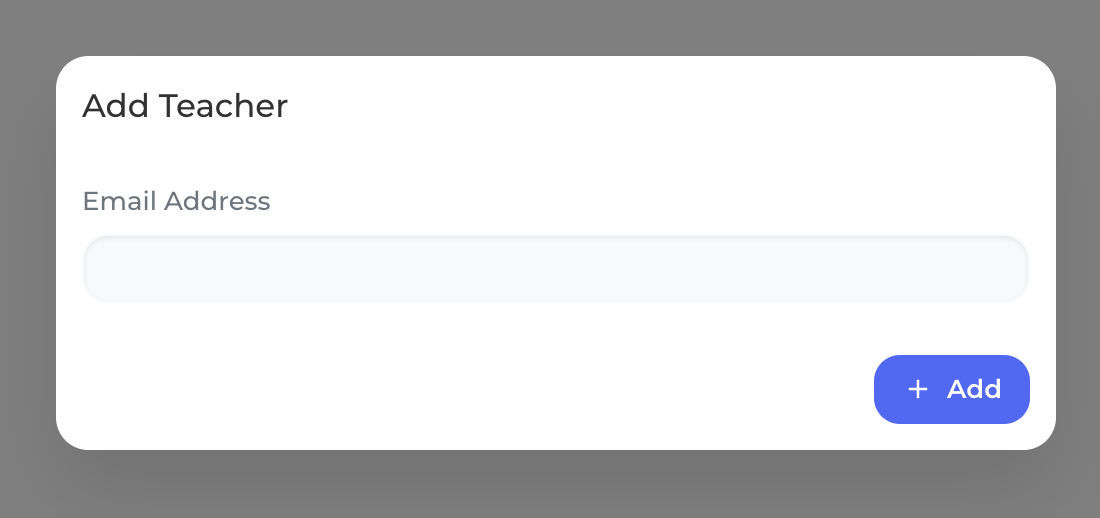
Enter the teacher's email address and press [Add] to add the new teacher to the course.
2.2. Student Team
Click on [Student Team] to manage the list of students and track their learning progress.

The system displays a list of students in the class along with the progress of each student:

- The information includes: Student's name, Email, Progress, and other Actions (View, Delete).
2.2.1. Add Student
Press [New] to proceed with adding a new student:

Enter the student's email and press [Add] to add the new student.
2.2.2. Tracking Progress
Click the search icon on the toolbar to search for students.
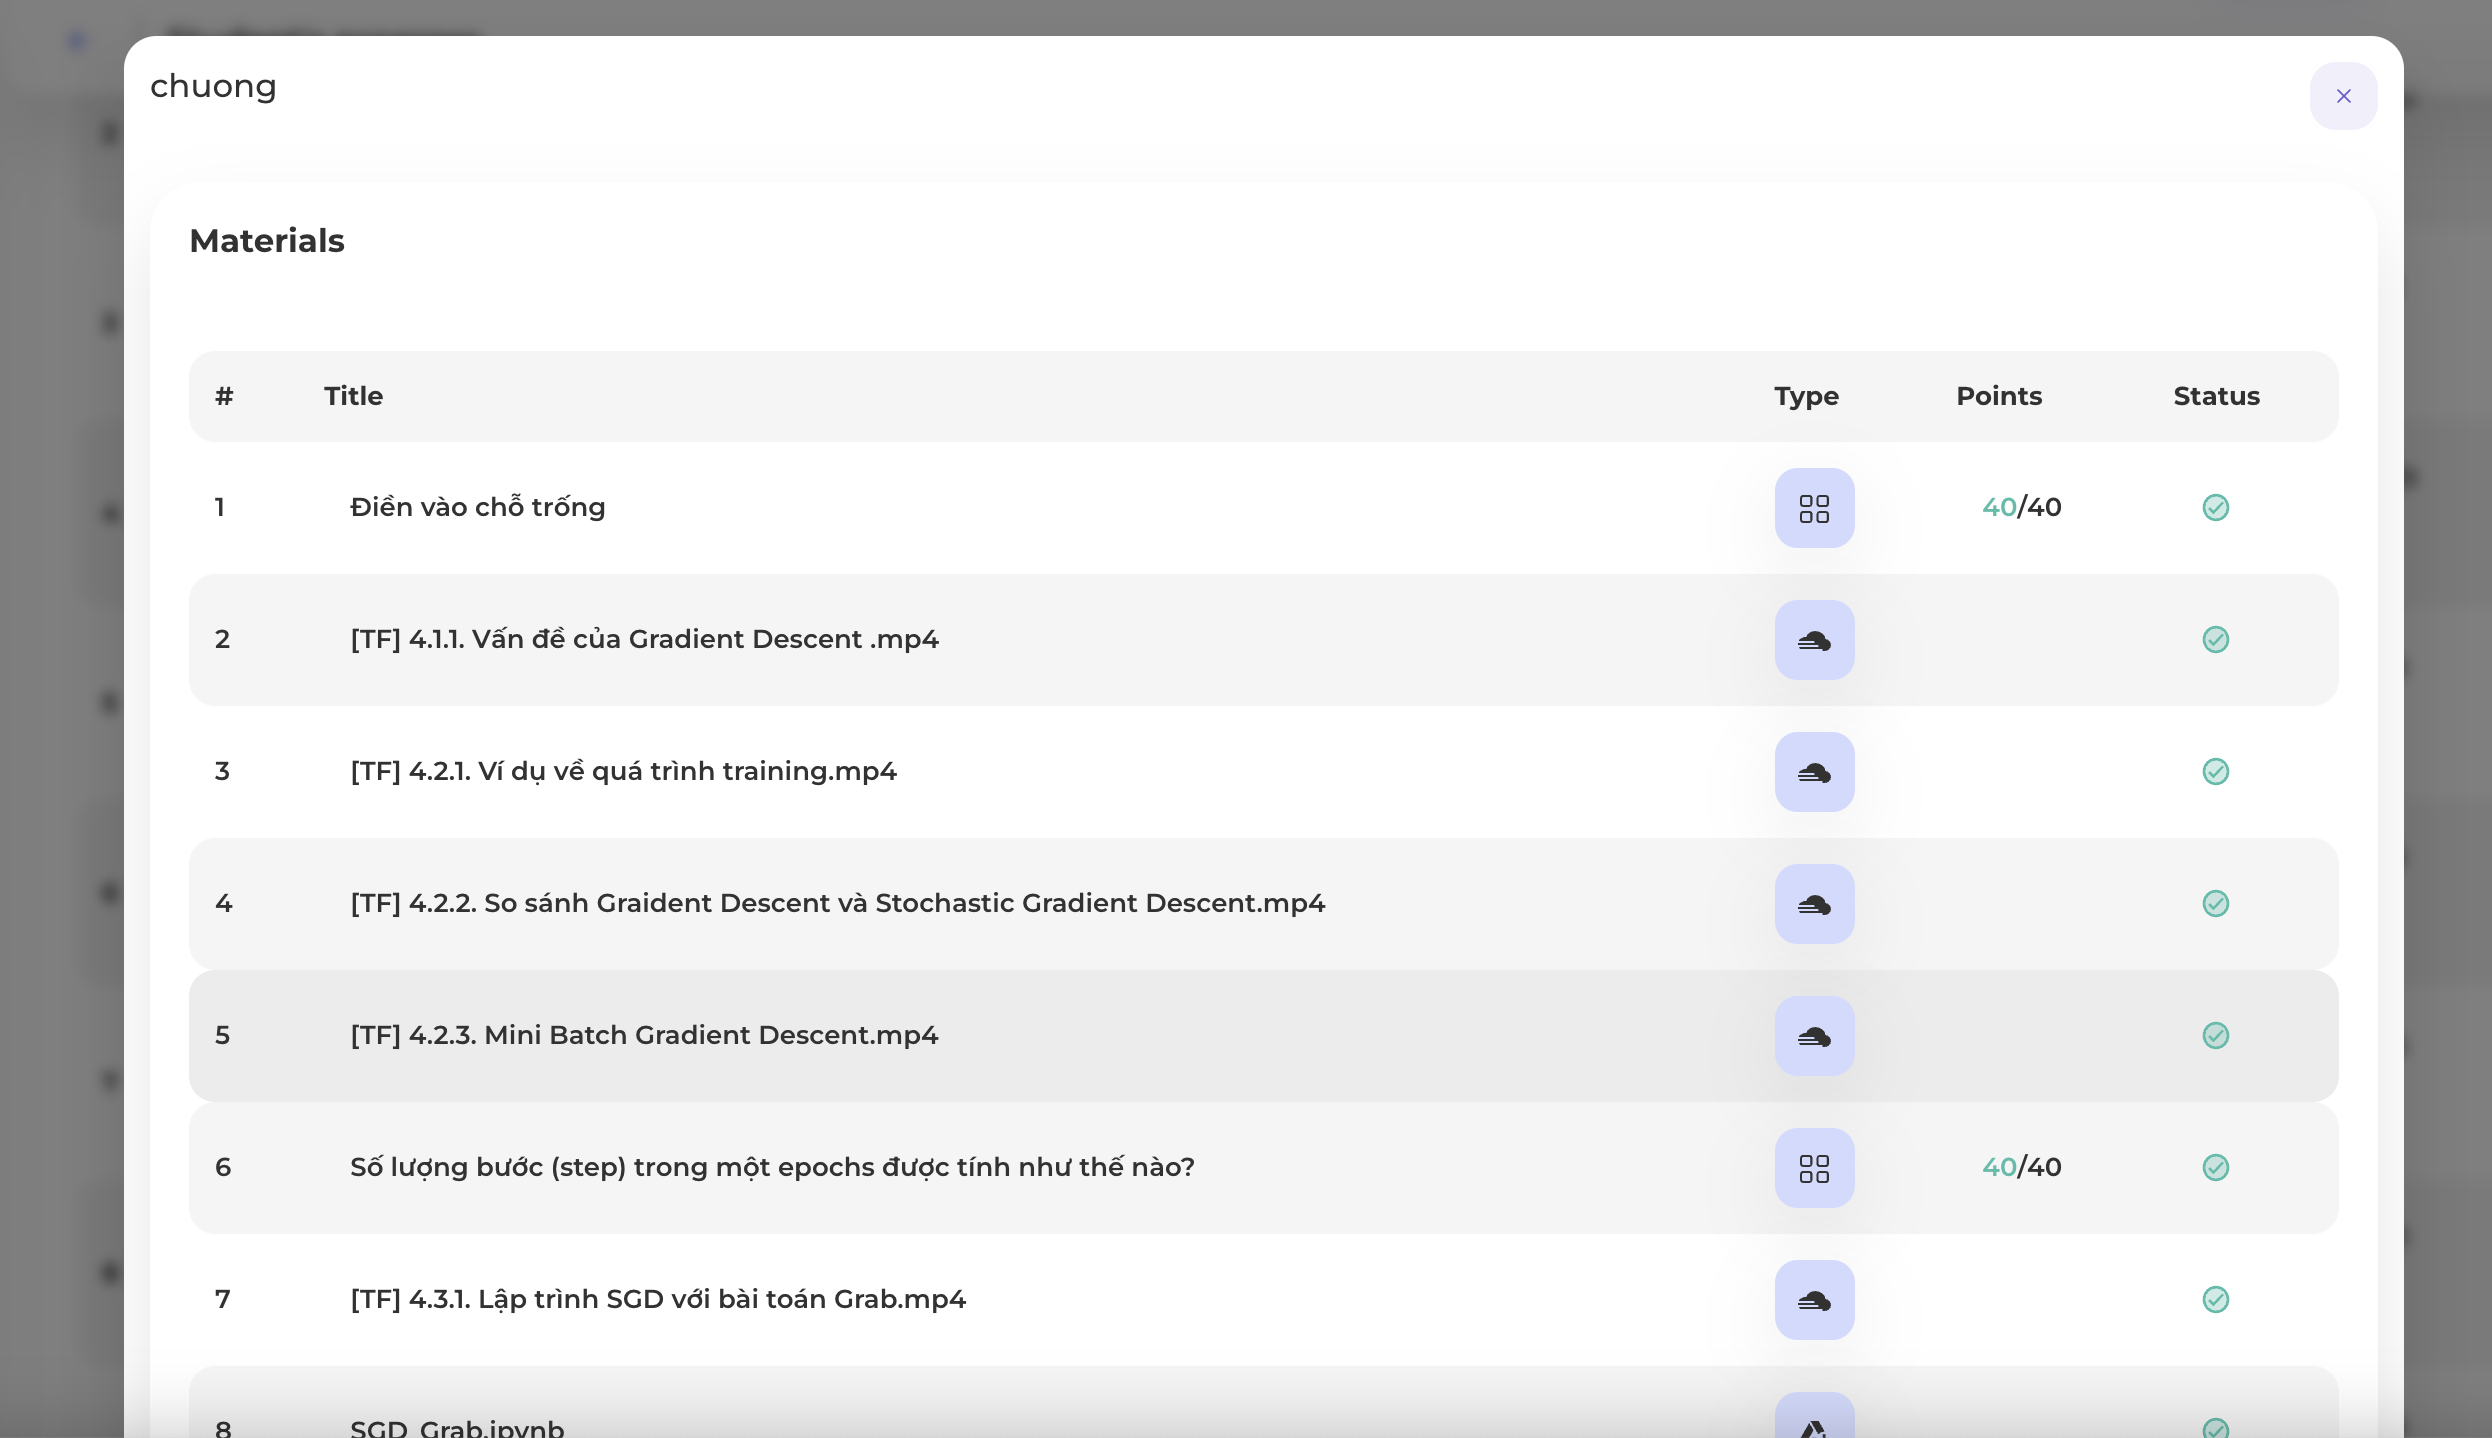
Click [View] on the right corner of a student to see the detailed progress of each student:

The system will display student information and details of their progress in completing topics, assignments, and materials.
Click [Stats] to view detailed statistics by topic:
2.2.3. Send Email
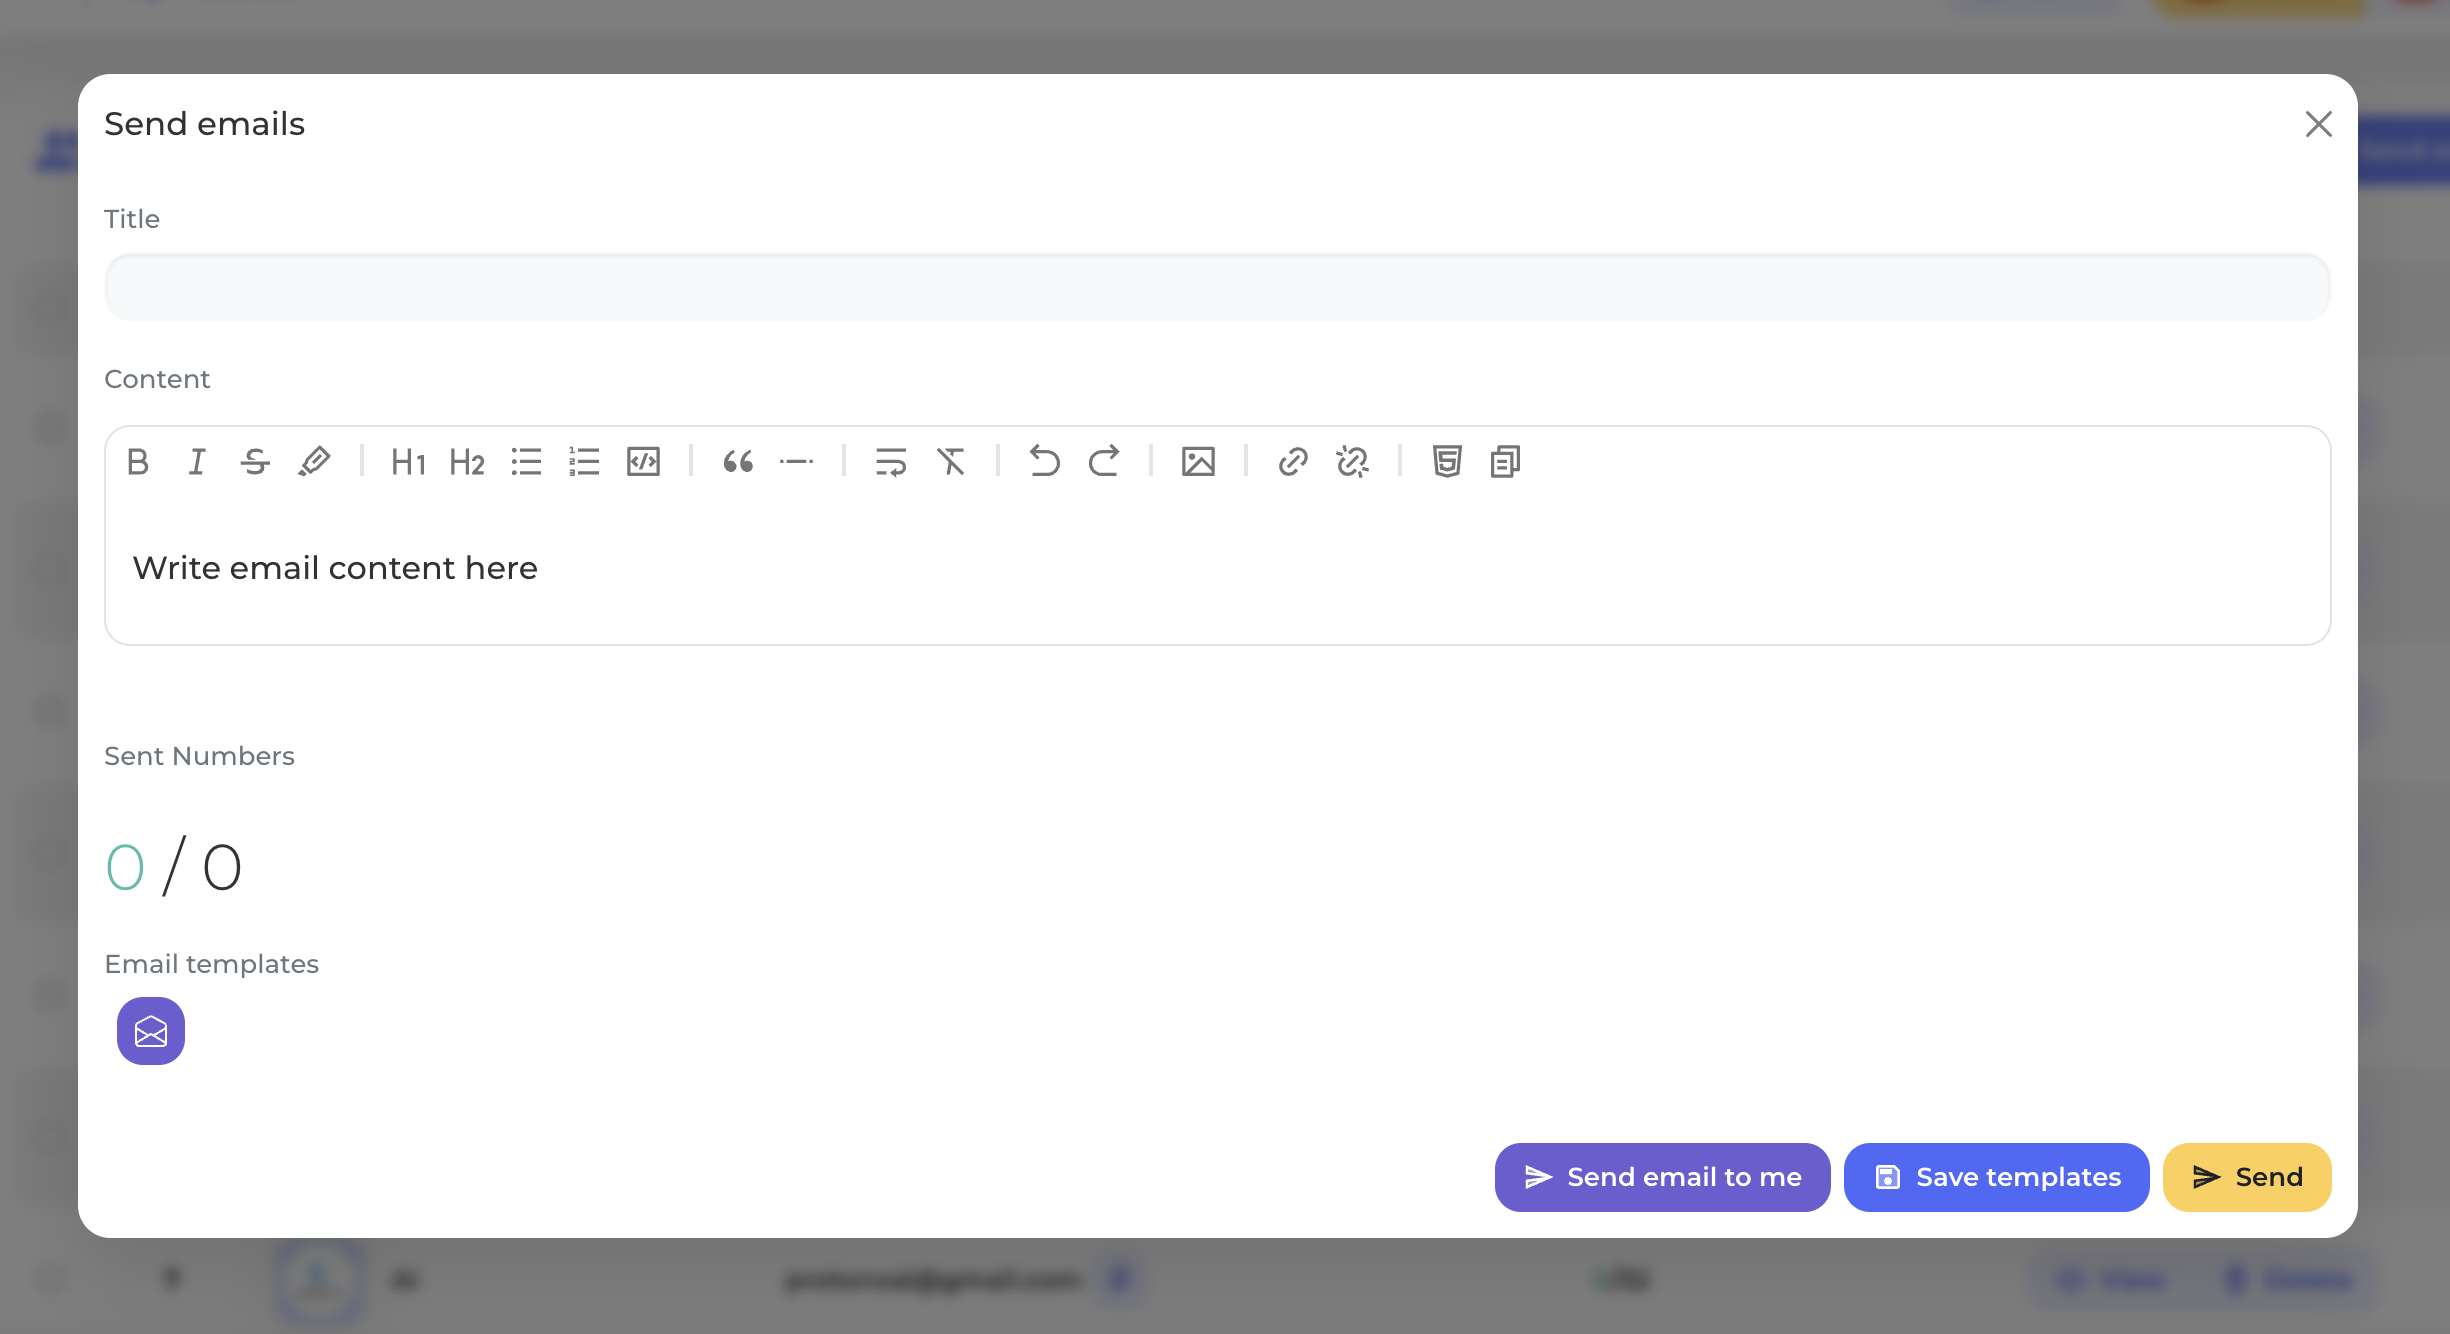
Click [Send Email] to send an email to the students:
3. Reward
Click on the [Rewards] section to manage rewards.

The system will display a list of rewards you have created, including information such as Name, Image, Minimum Points, Maximum Points, and the option to Edit the reward.
3.1. Create Reward
Step 1: Click on [Add a reward] to create a new reward.
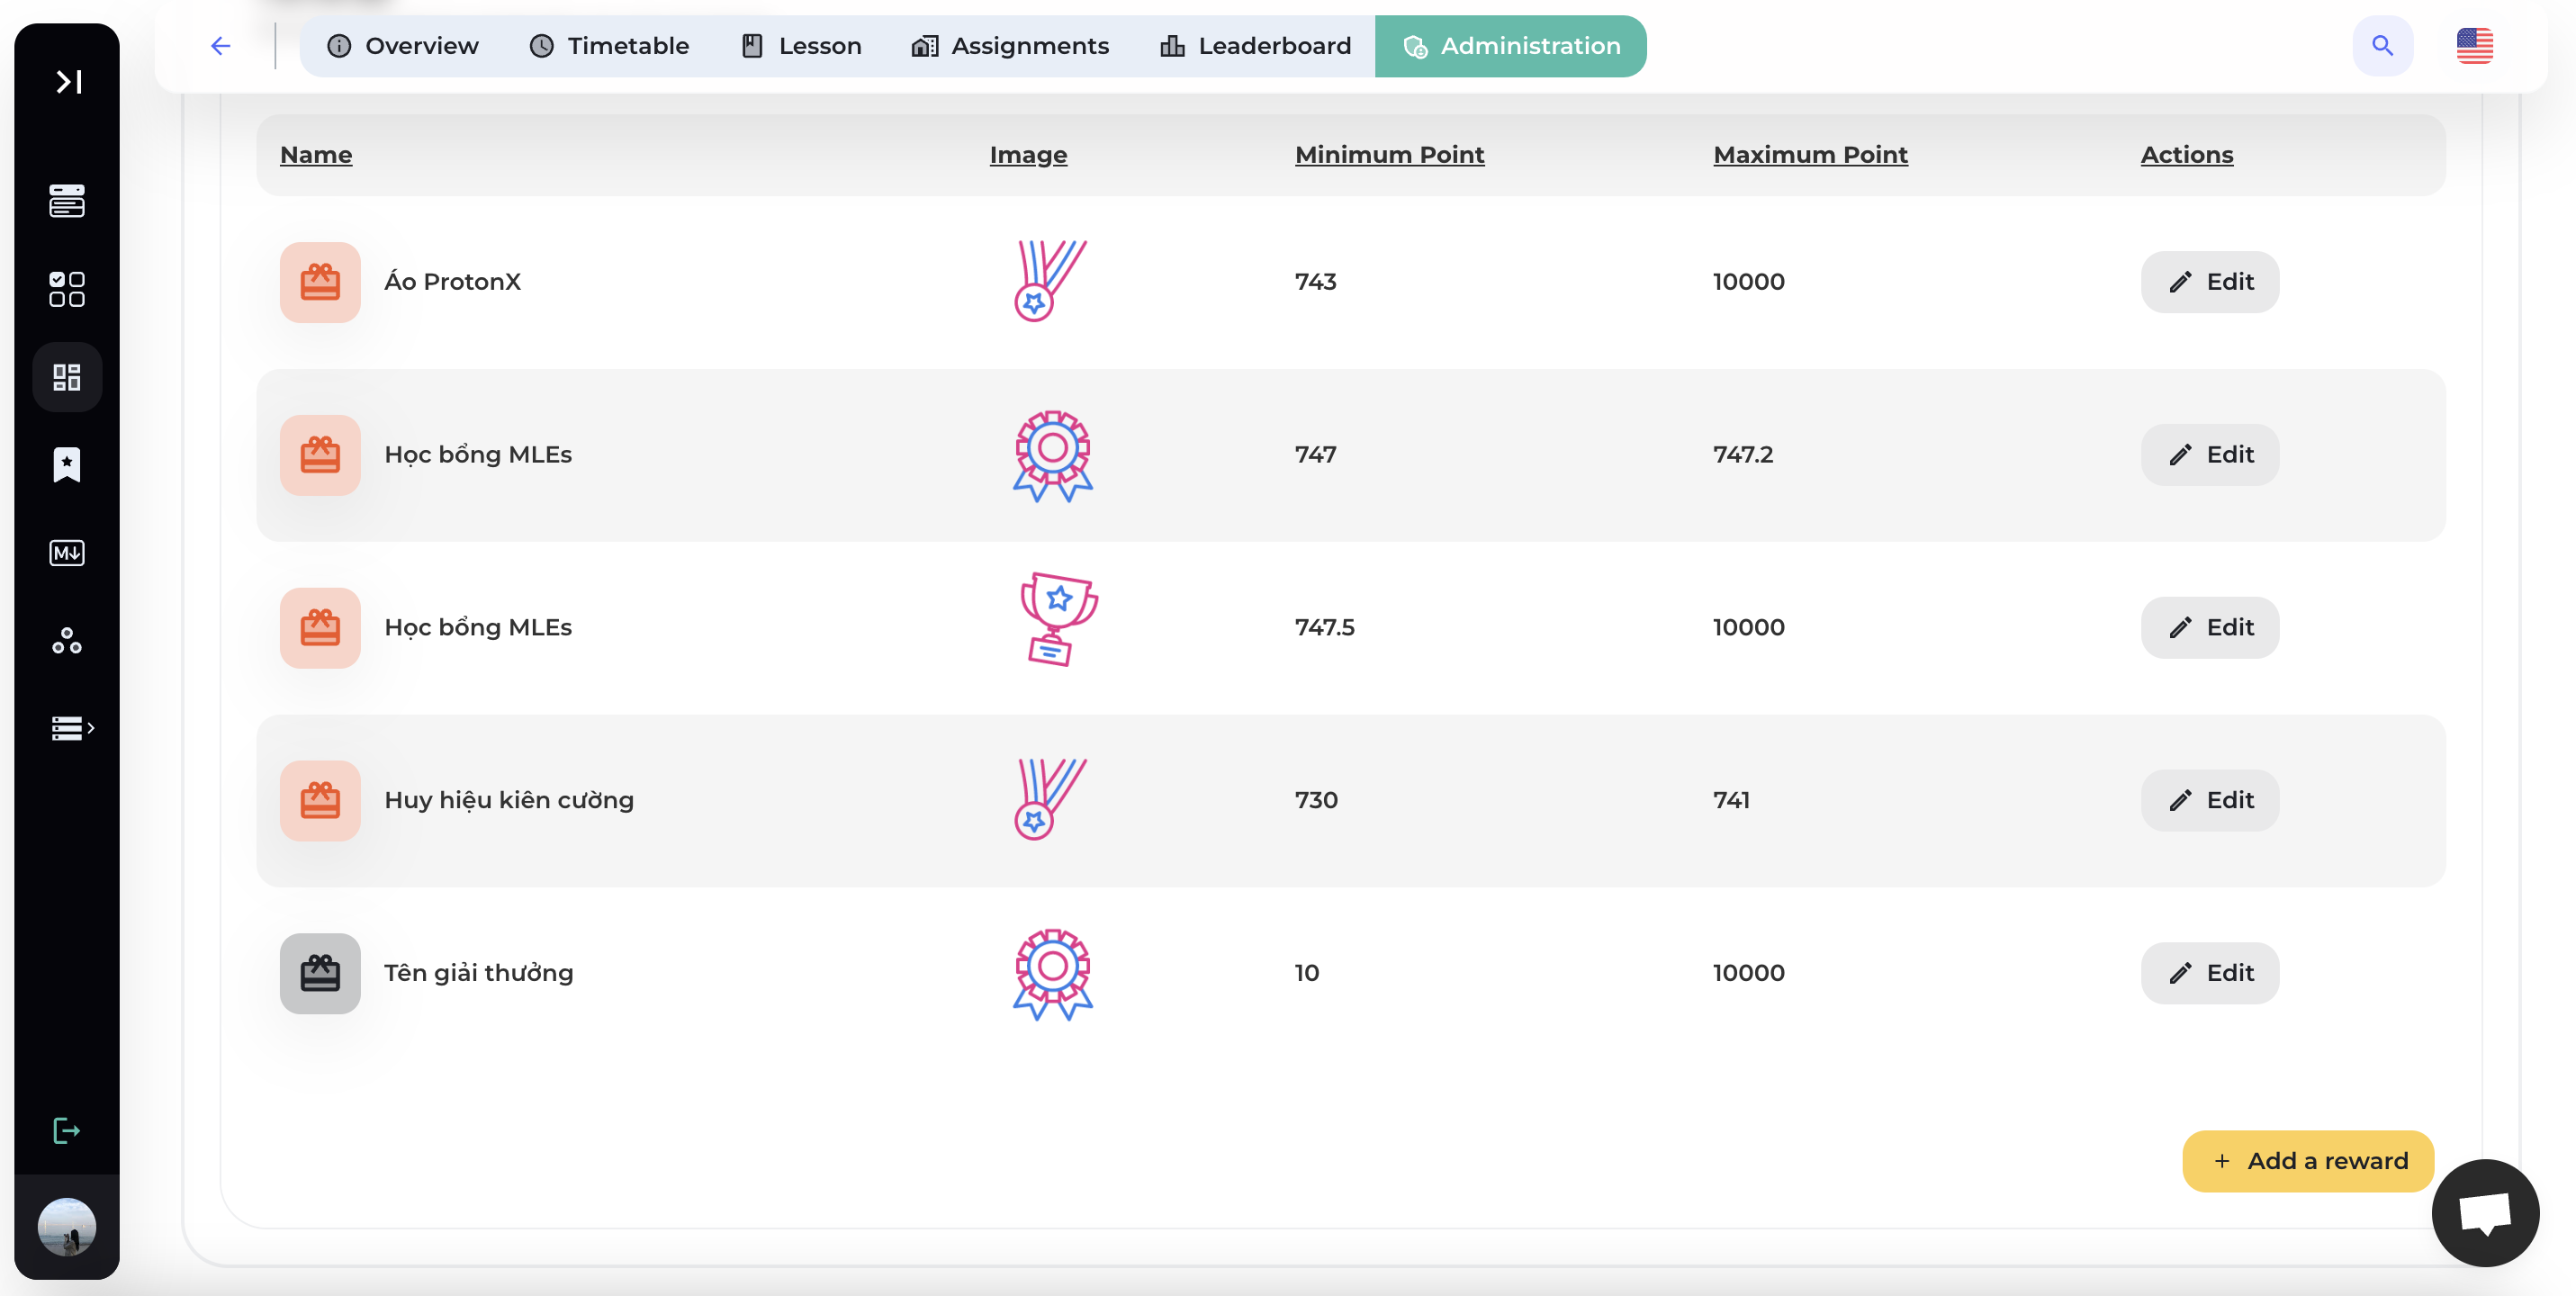
Step 2: Enter the reward details including: Reward name, Tag name, Reward description, State (draft or published), Minimum points to earn the reward, Maximum points, Badge.
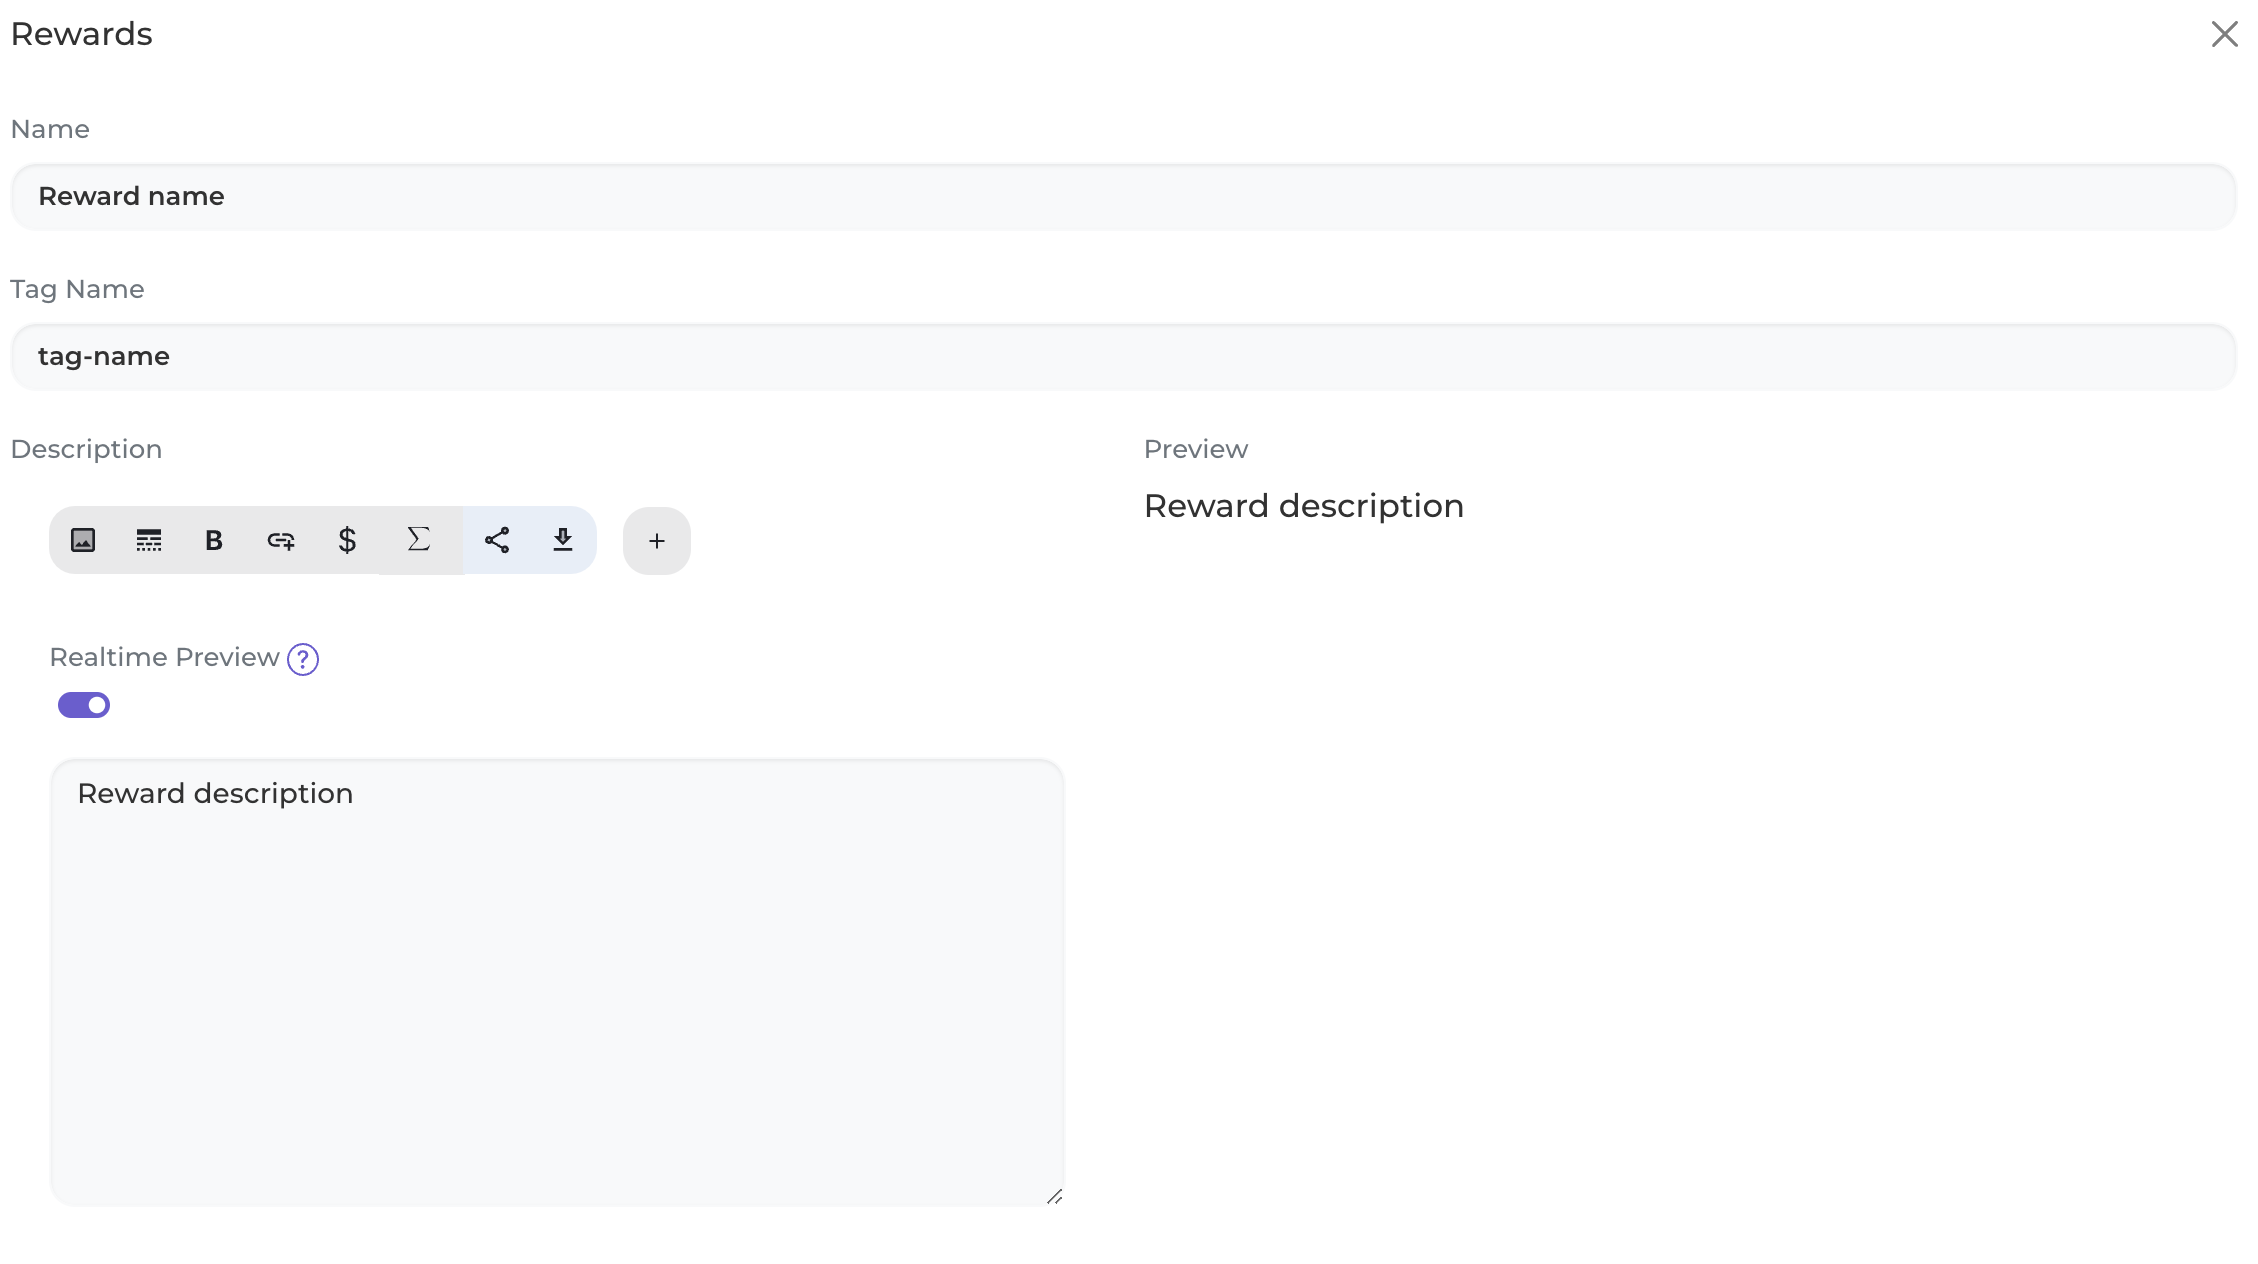
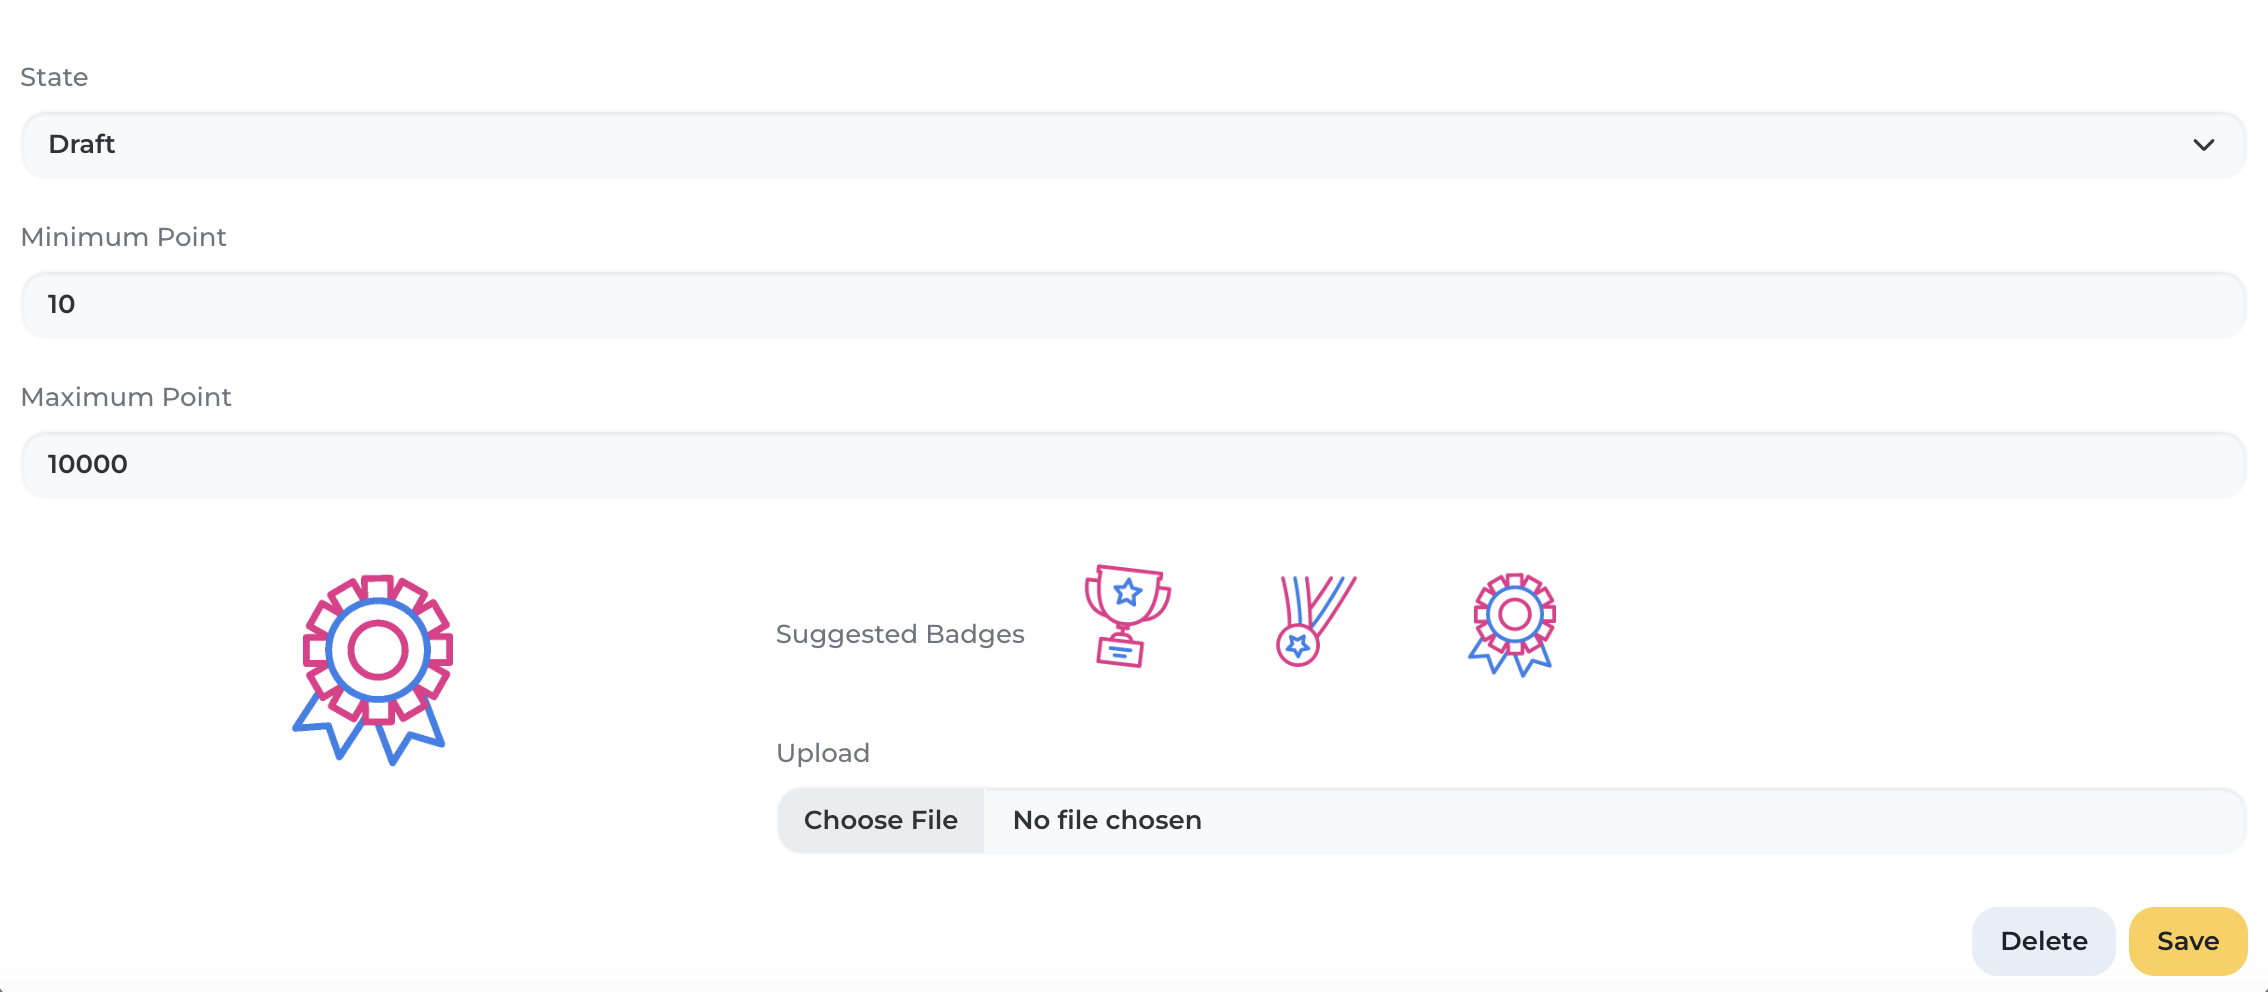
Step 3: Press [Save] to save the reward.
3.2. Edit Reward
Press [Edit] to enter the information you want to edit for the reward:

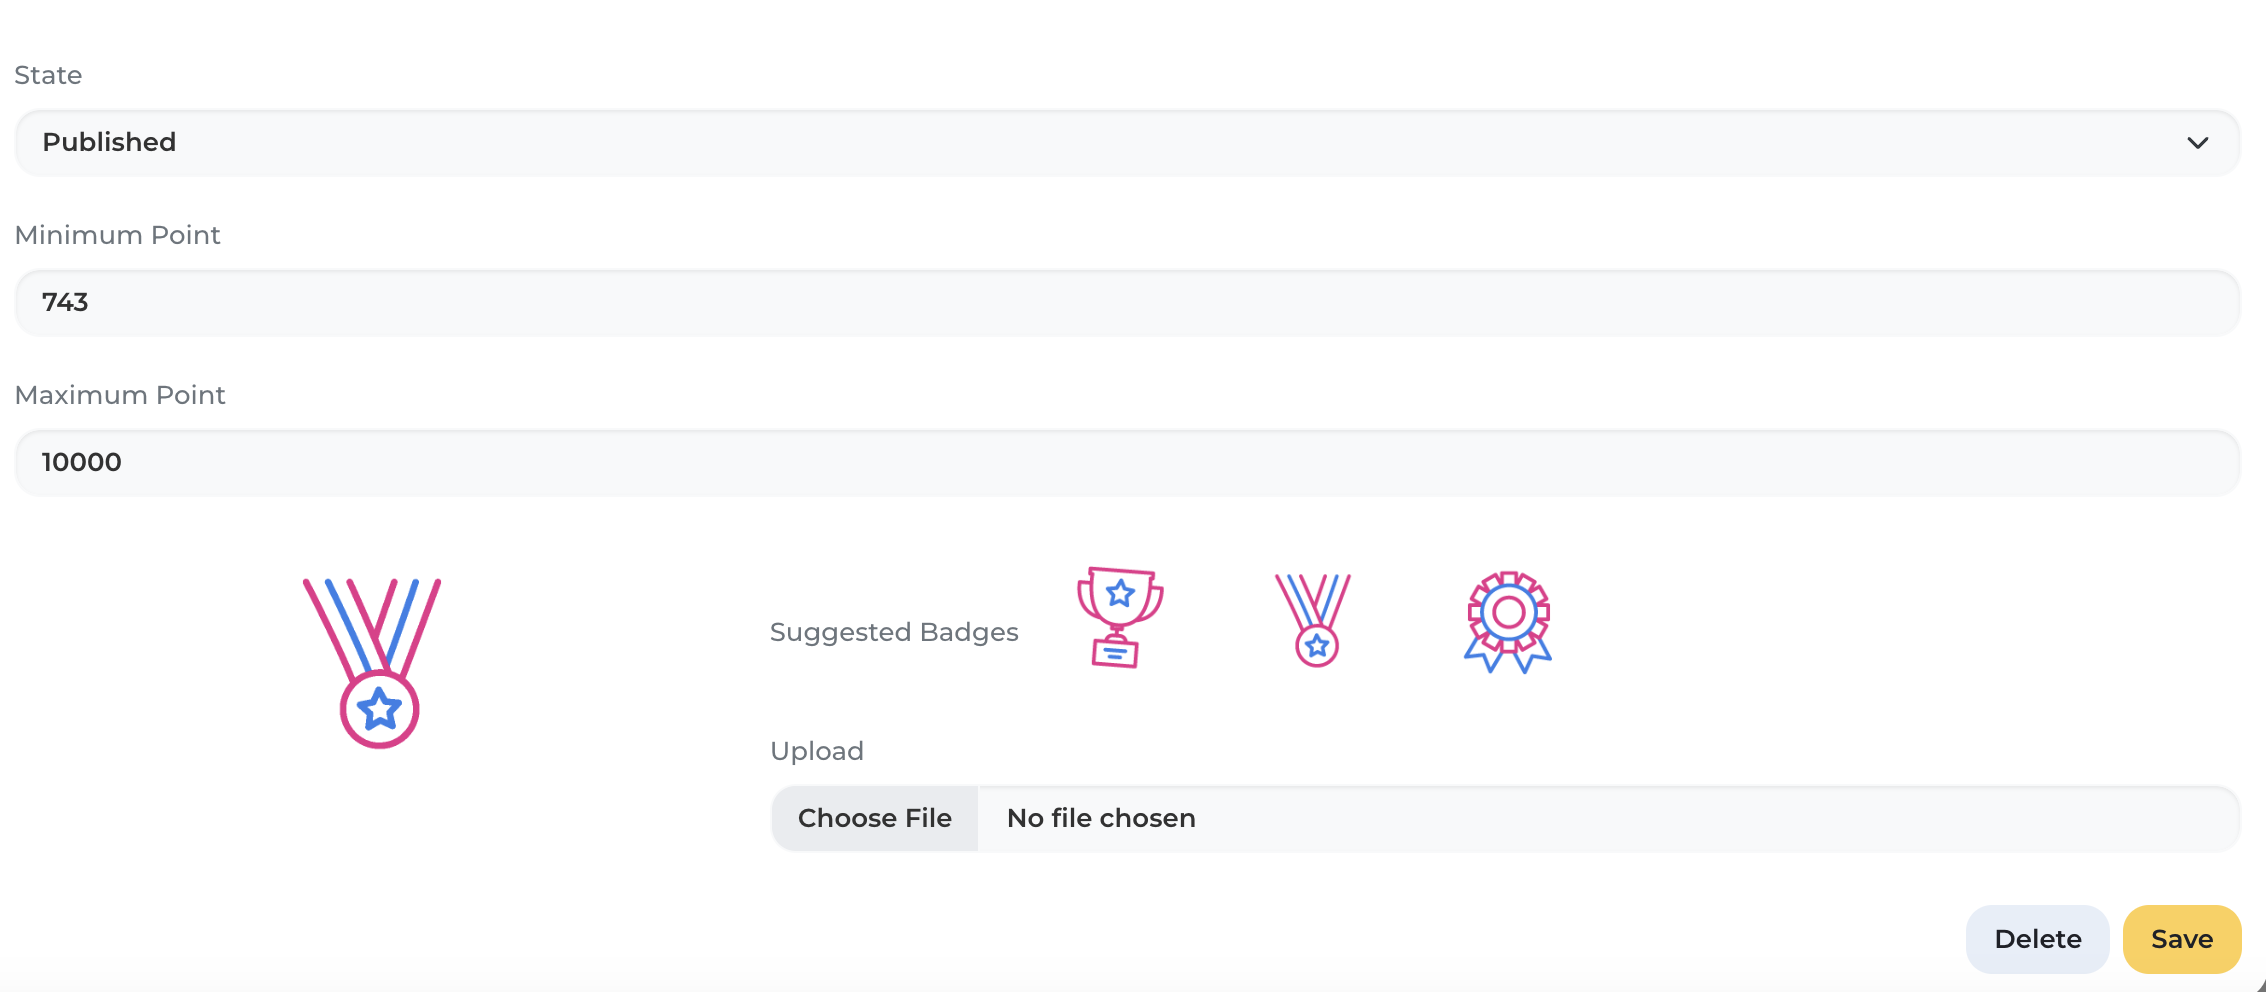
Click [Save] to update the reward information.
3.3. Delete Reward
Click [Delete] to remove the reward.
4. Email System
Select the [Email] section to configure emails for various tasks or send emails directly to students.

The system displays a list of email templates with Actions: View, Edit, Delete, Create.
4.1. Add email
Step 1: Click [Add Email] to create an email.

Step 2: Enter the email details including:
- Email Title
- Email Content
- Email State: Draft/Published
- Mode: Select the appropriate mode based on the purpose of the email.

- Auto email: Choose to enable or disable automatic email mode.
- Email templates: Click the email icon to select an email from existing templates or create a new template.
Step 3: Press [Create] to proceed with creating the email. Press [Send email to me] to receive the email in your inbox for preview before sending it to students.
4.2. View Email
Click the [View] icon to view the email. Click the [Delete] icon to delete the email.

4.3. Edit Email
Click the [Edit] icon to edit the email:

Edit the email information and press [Save] to update the email details.
4.4. Delete Email
Click the [Delete] icon to delete the email:

5. Notifications
Select the [Notifications] section to view and manage notifications.
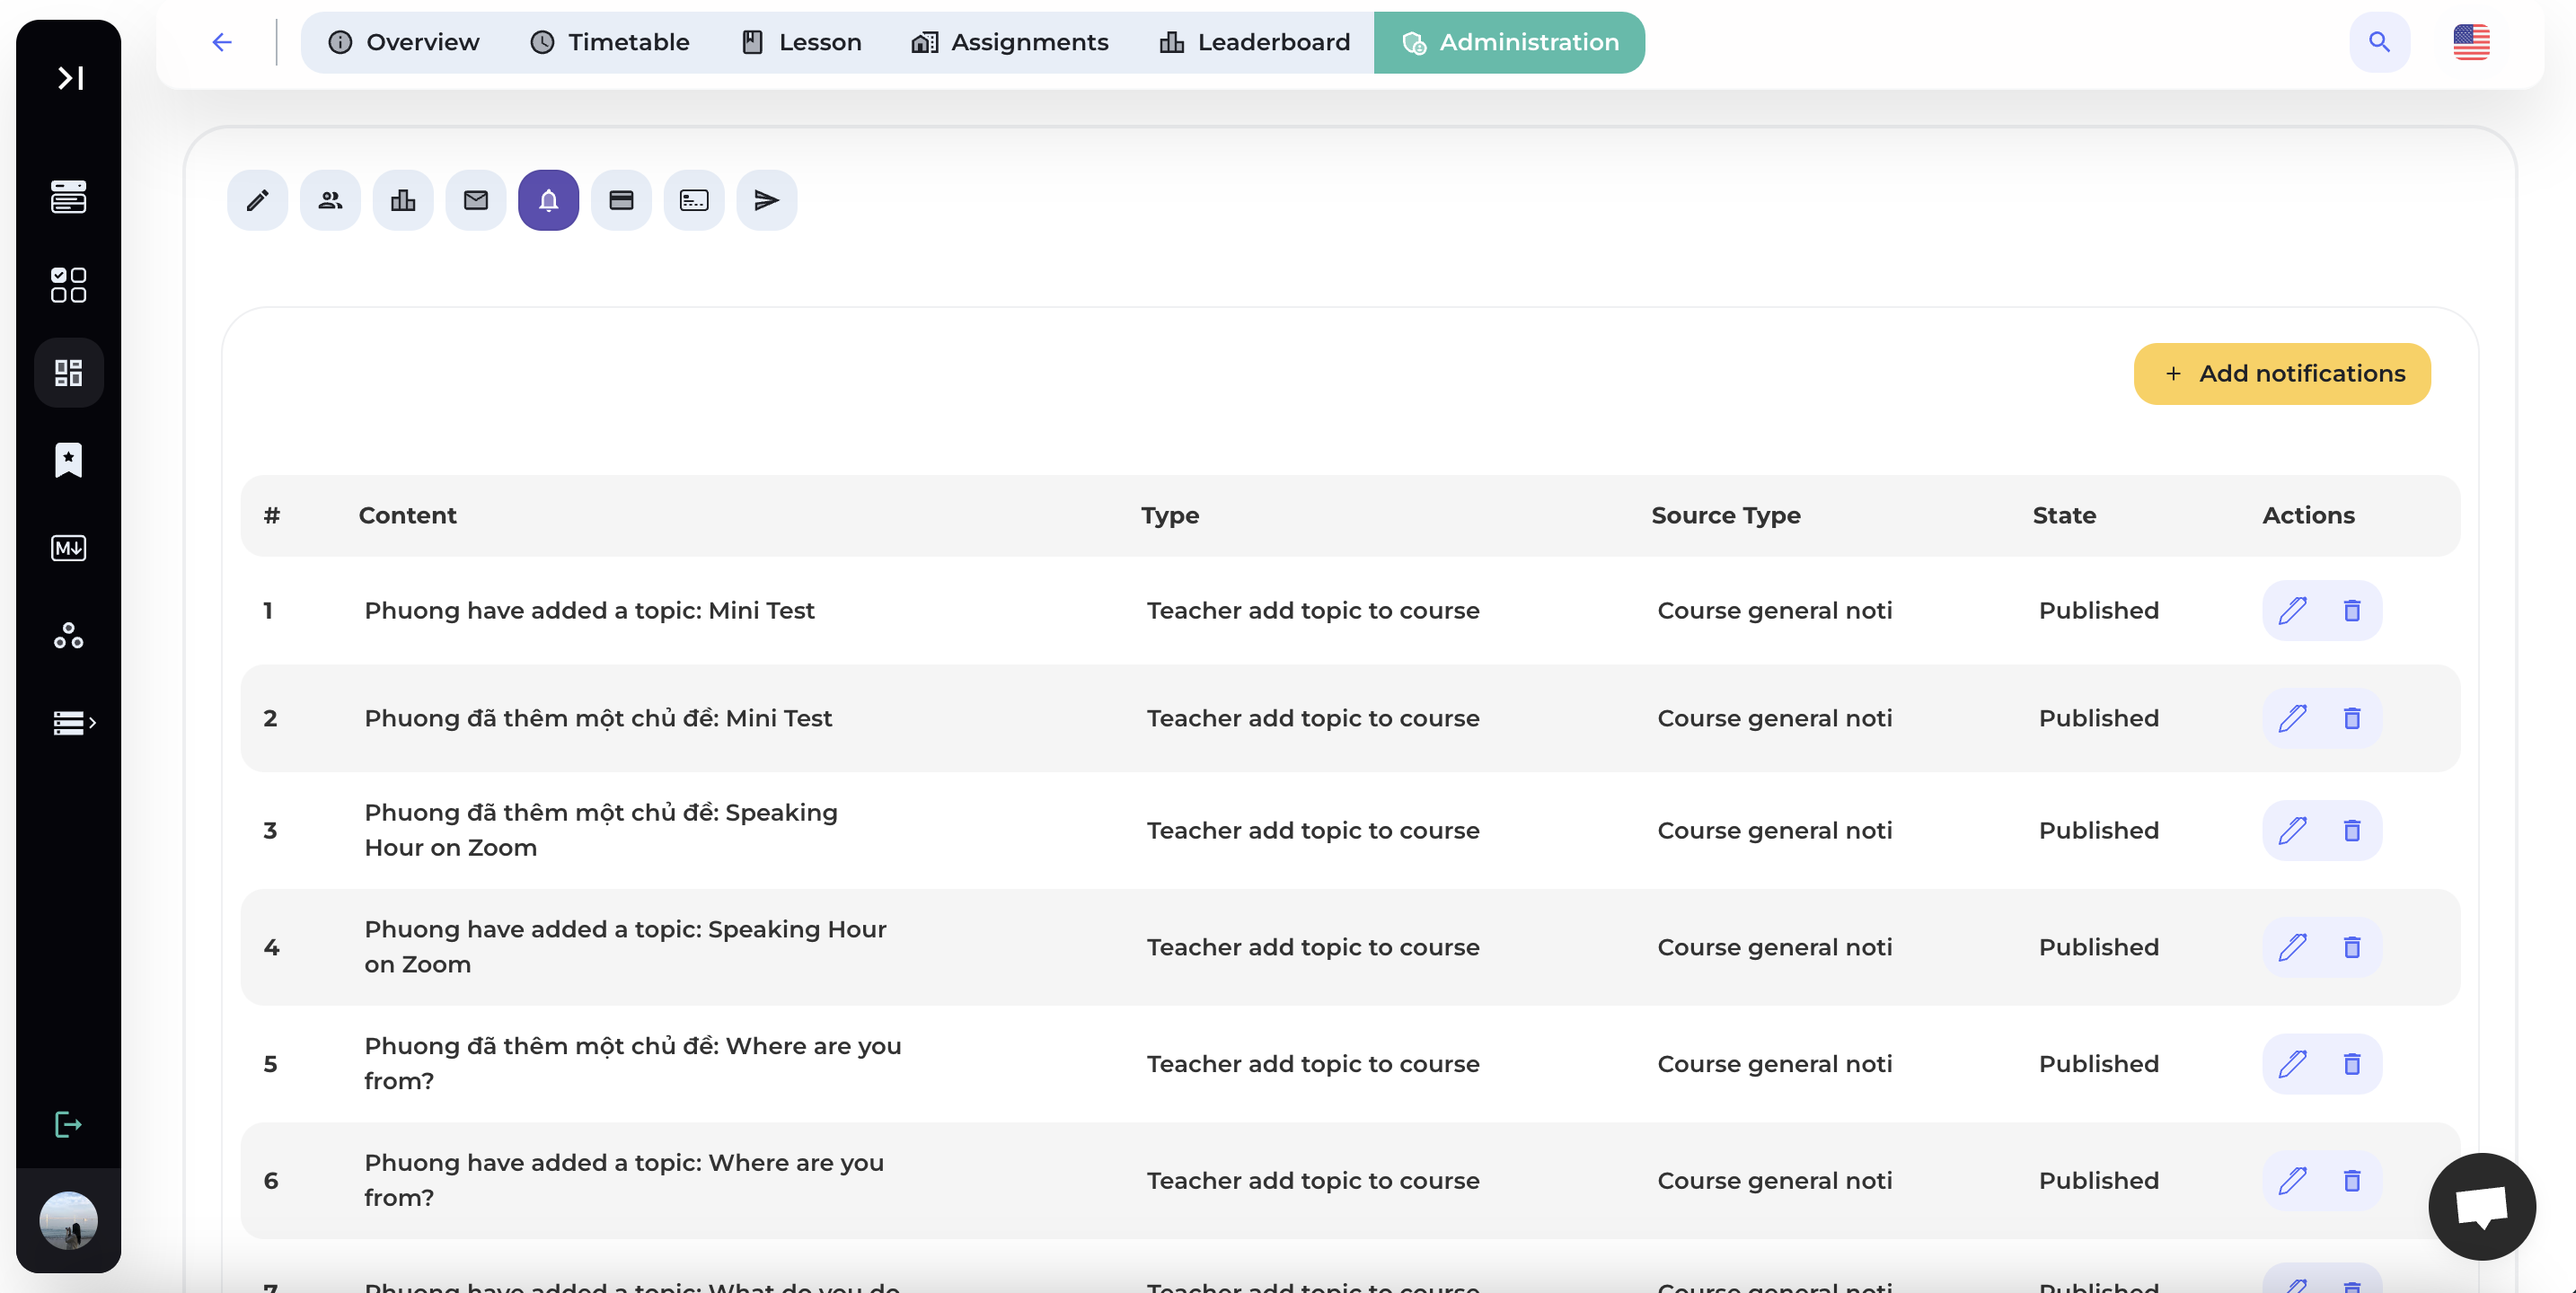
The system displays notifications when a new topic is added and allows you to perform tasks such as adding, editing, or deleting notifications.
5.1. Add notification
Click the [Add Notifications] button to create a new notification.

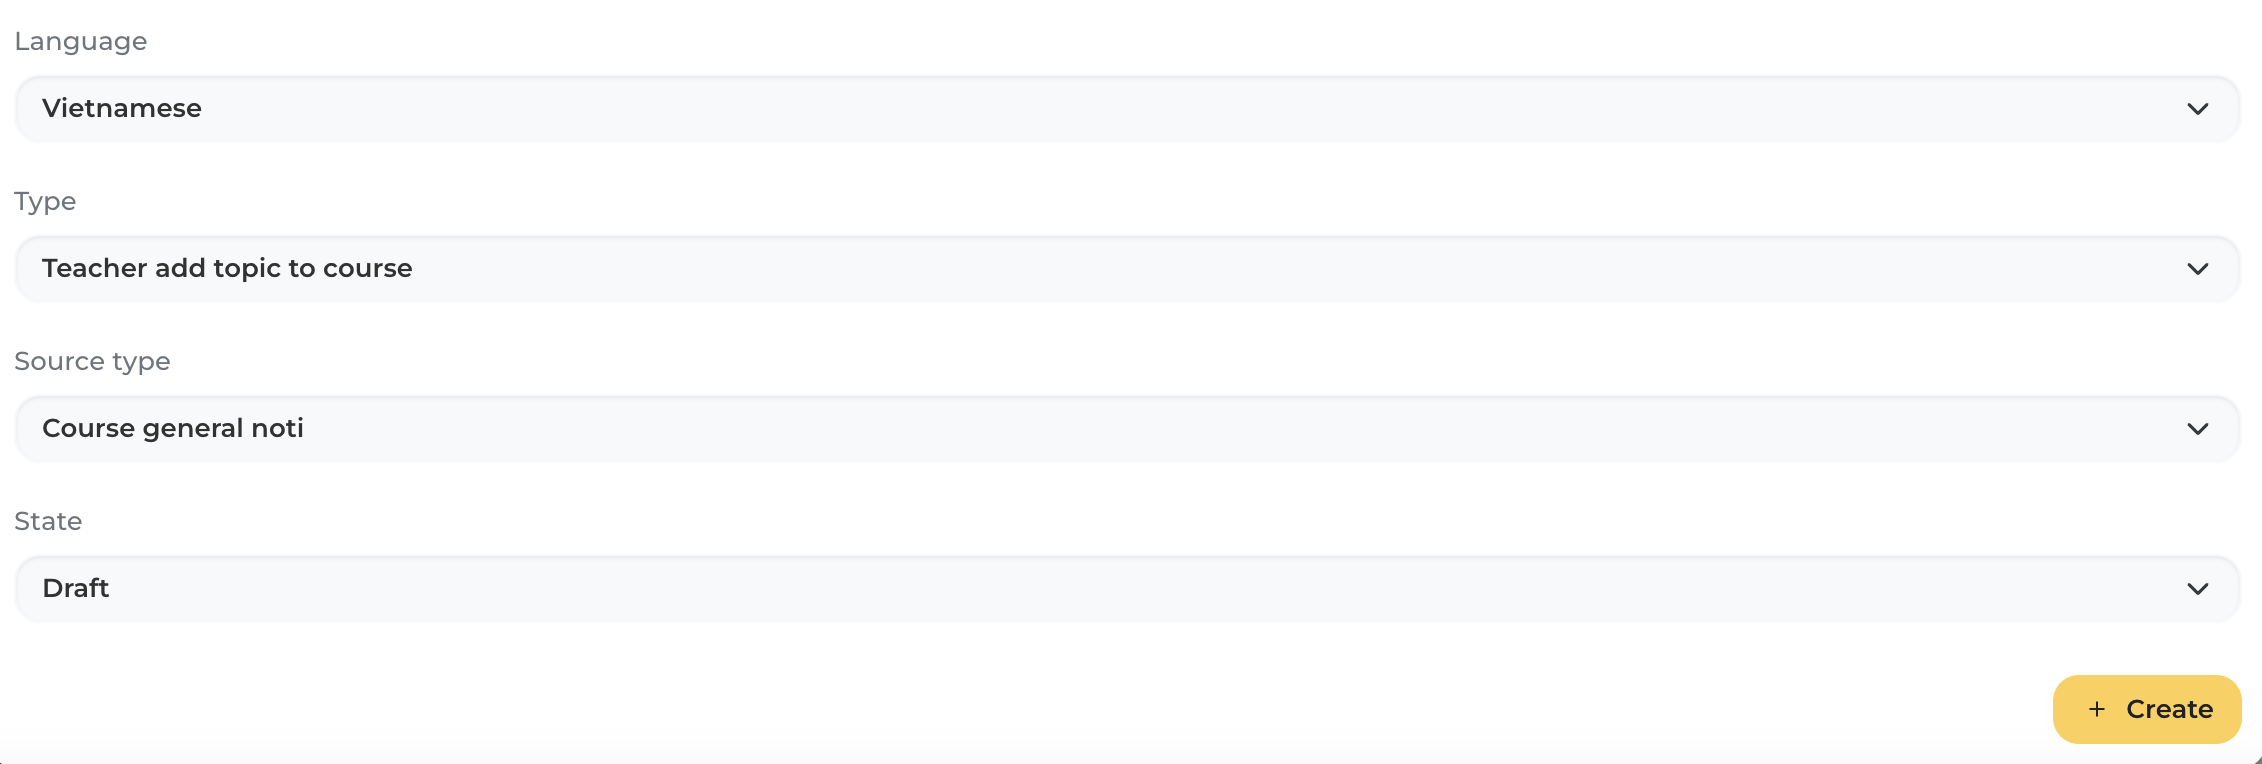
Enter the notification details such as notification content, link, language, notification type, etc. and click [Create] to create the notification.
5.2. Edit notification
Click on the [Edit] icon to edit the notification.
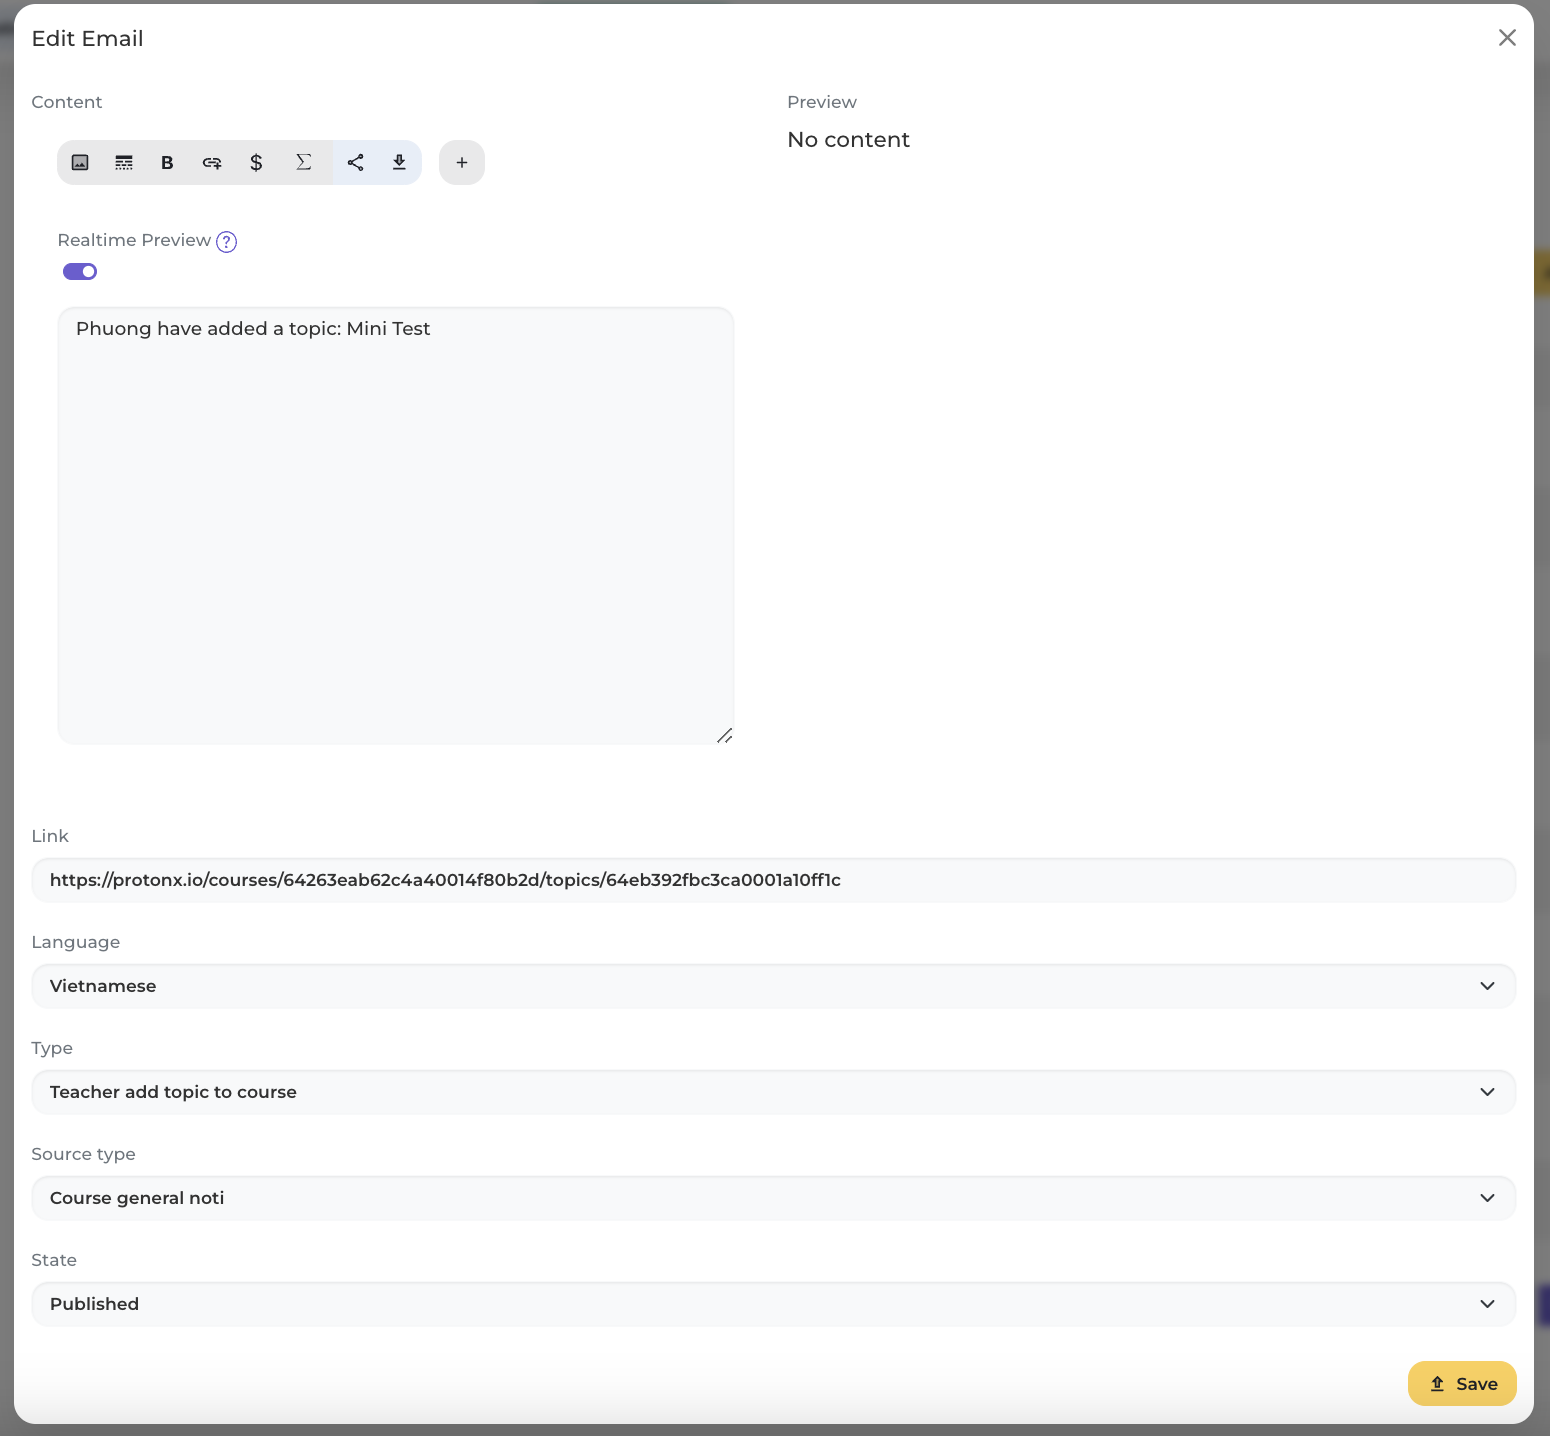
Enter the necessary information to edit and press [Save] to update the notification.
5.3. Delete Notification
Click on the delete icon in the Actions section to delete the notification.

6. Coupon
Please visit the Link to manage class coupons.
7. Pricing Plan
Press the [Pricing Plans] section to proceed with managing the pricing plans.
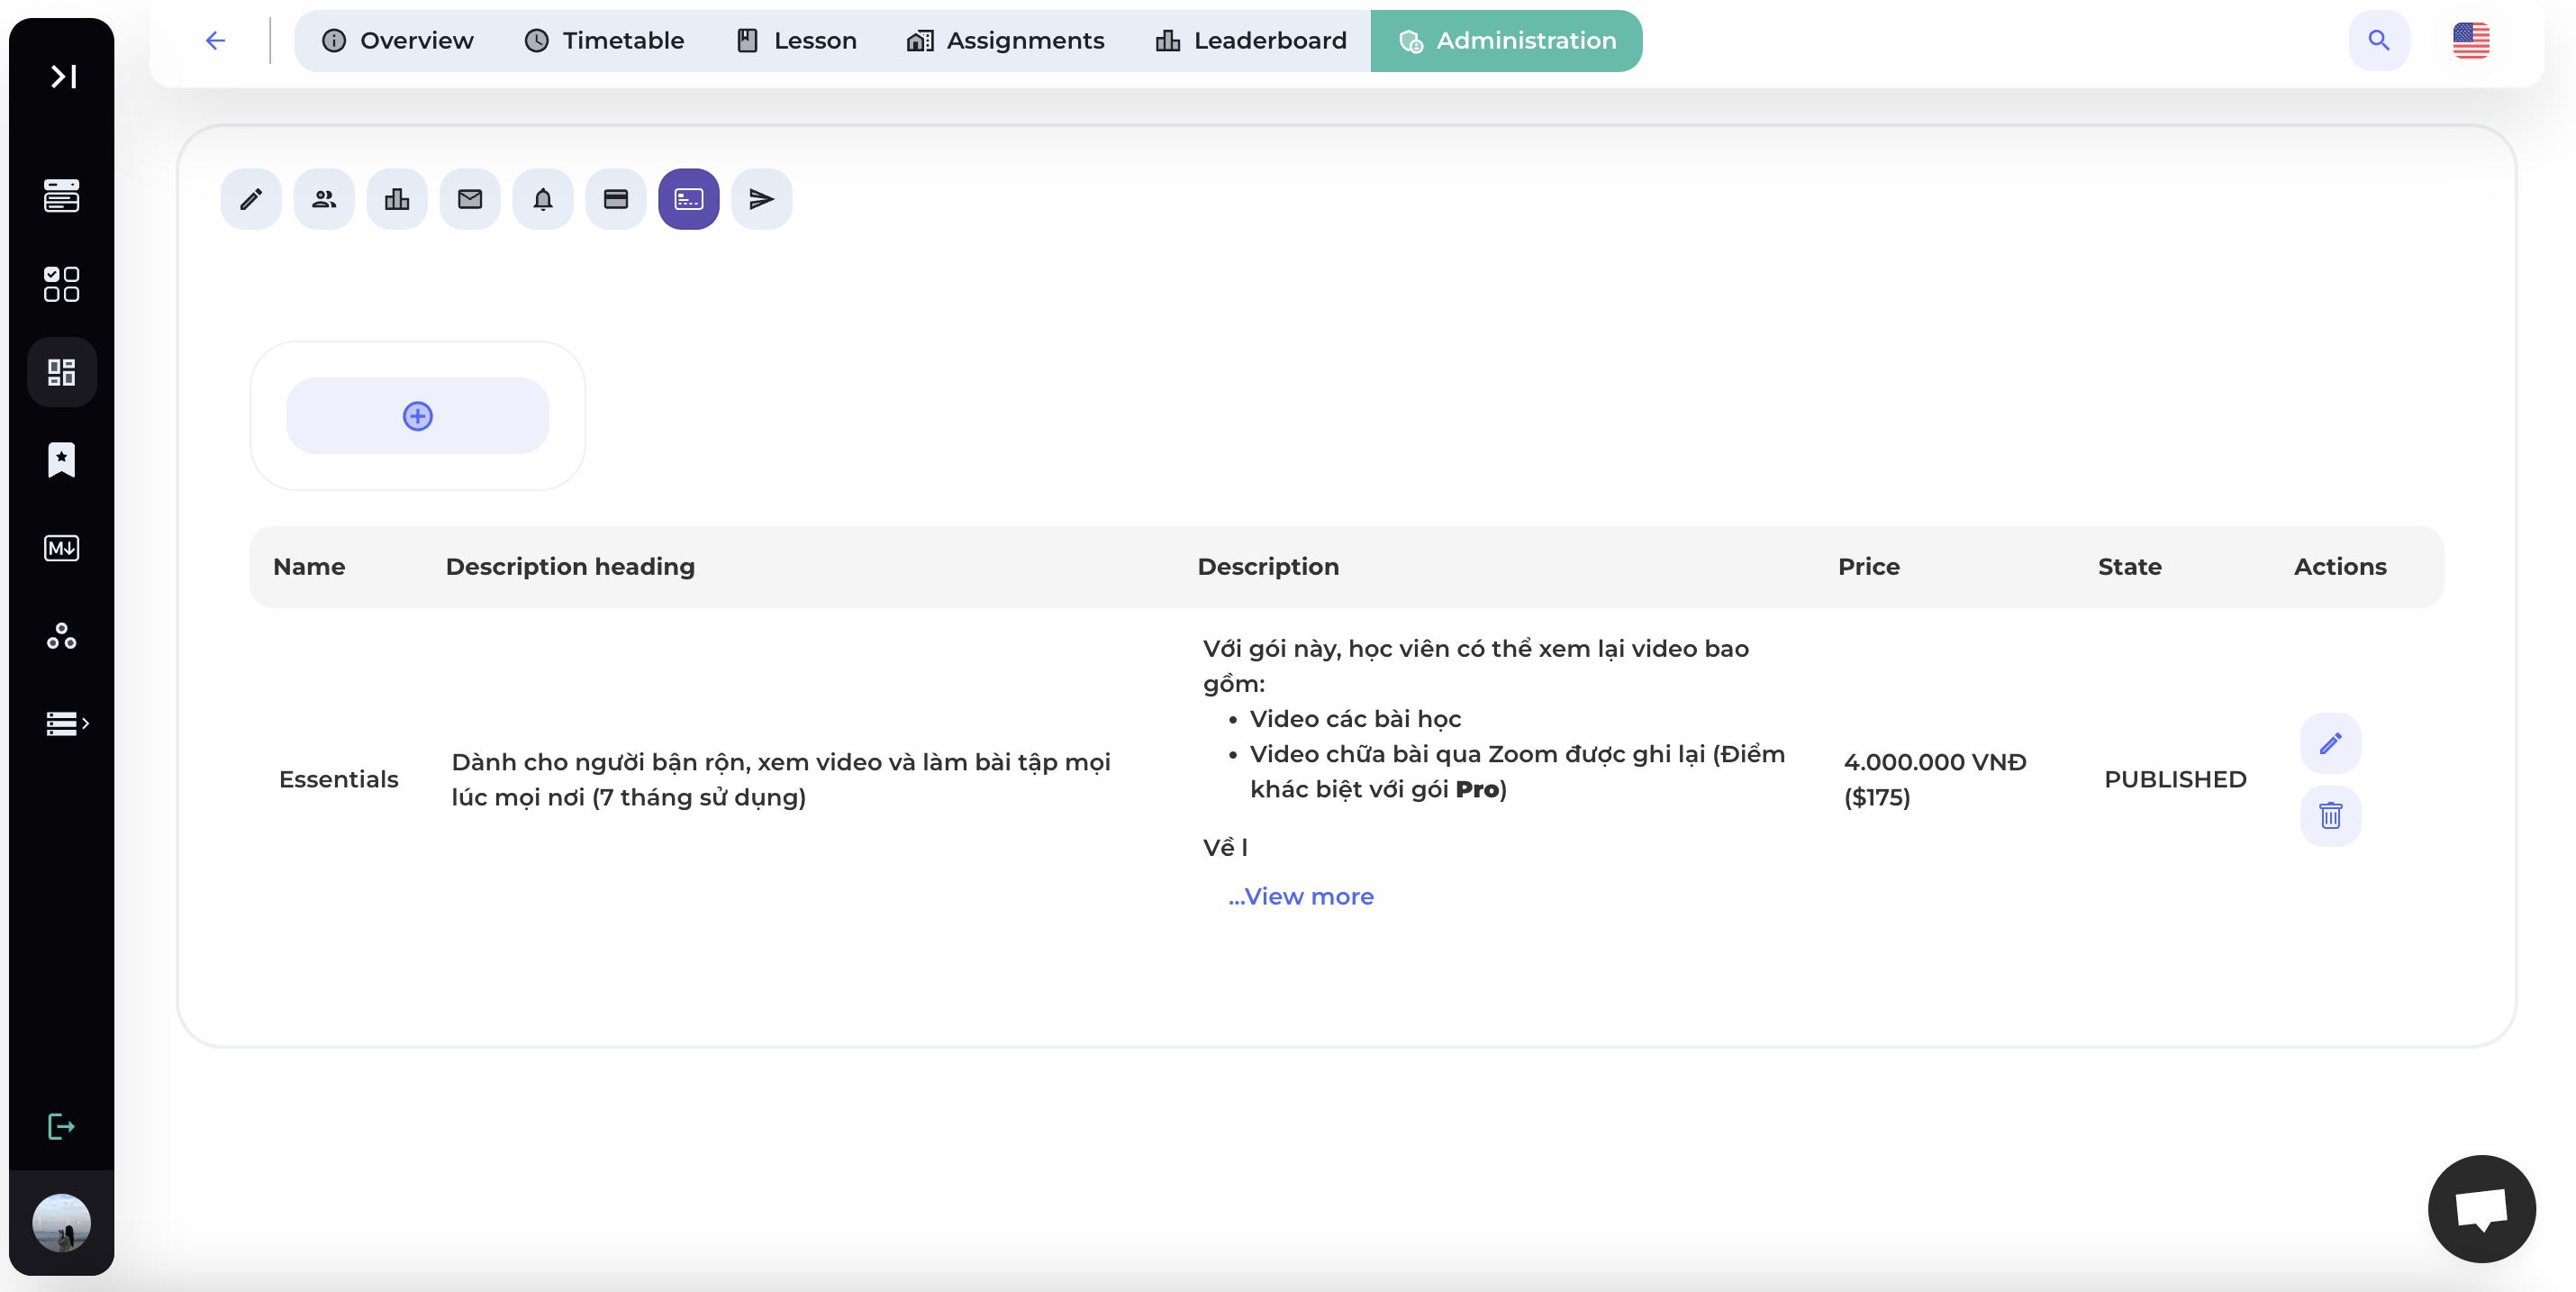
7.1. Add Pricing Plan
Step 1: Click on the [+] icon to create a pricing plan for your course.
Step 2: Fill in the necessary information for the Pricing Plan.


Step 3: Press [Save] to save the pricing plan.
7.2. View list of pricing plans.

The system will display a list of current pricing plans for the course, including:
- Name
- Description heading
- Description
- Price
- State
- Actions: Edit/Delete
8. Join Requests
Click on the [Join Requests] section on the toolbar to view and manage all the join requests for the course.

The system will display a list of information about the students who have registered for participation, the pricing plans they've chosen, their status, and other actions such as Approve Student, Remove Student, or Download Student List.
- Pending List: This is a list of students who have registered and are waiting for approval to join the class.

Instructors can approve students, remove students, or download the list of students.
- Approved List: This list includes students who have been approved and are currently studying in the class.

Instructors can check the expiration status of a student's course, edit student information, or download the list of students.
- Created List: This list includes students who have viewed the course.
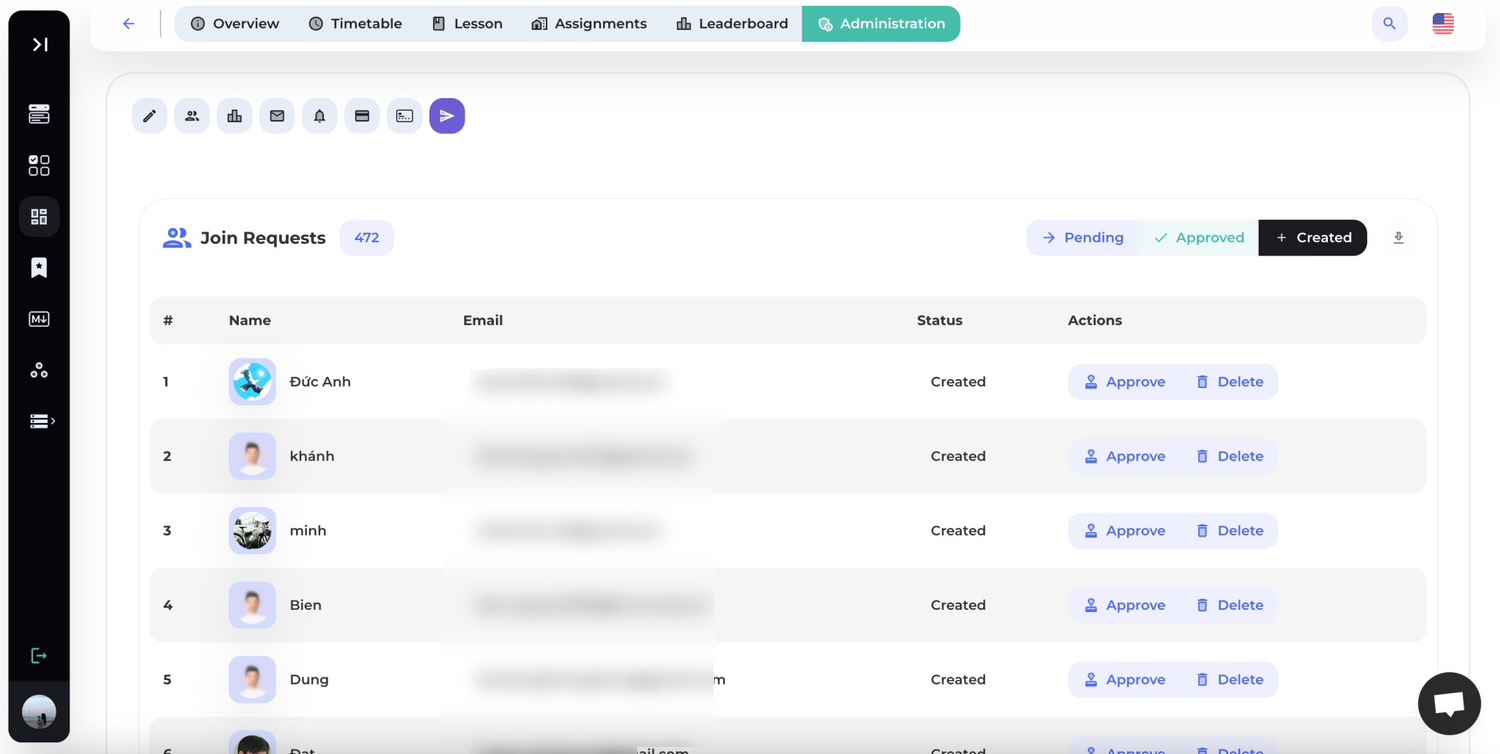
Instructors can approve students, remove students, or download the student list.